Introduction
Microsoft Copilot is revolutionizing the way organizations interact with data, leveraging AI to deliver intelligent insights and automation. However, for Copilot to function effectively, it requires a well-structured and secure data environment. SharePoint Advanced Management (SAM) provides essential tools to optimize, secure, and manage SharePoint content, ensuring your organization is Copilot-ready.
This post explores how SAM enhances permissions management, content governance, data accuracy, privacy, and security to maximize the benefits of Microsoft Copilot.

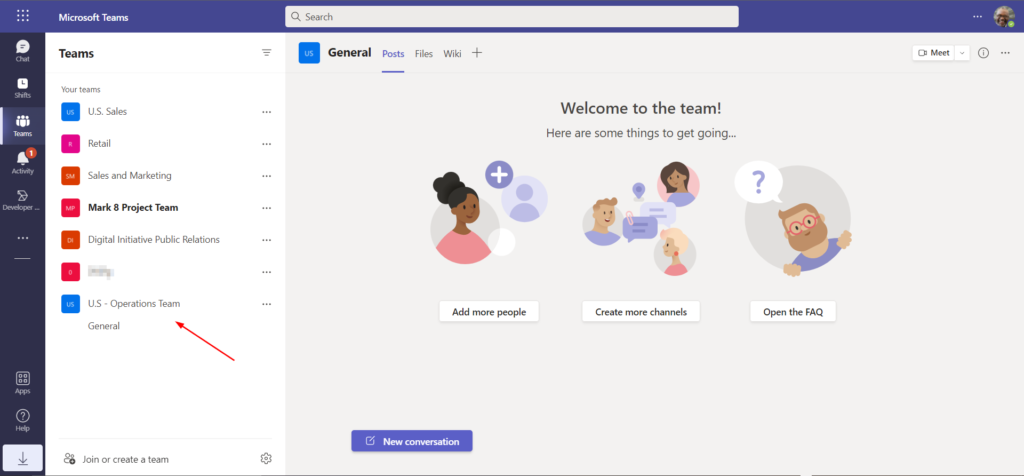
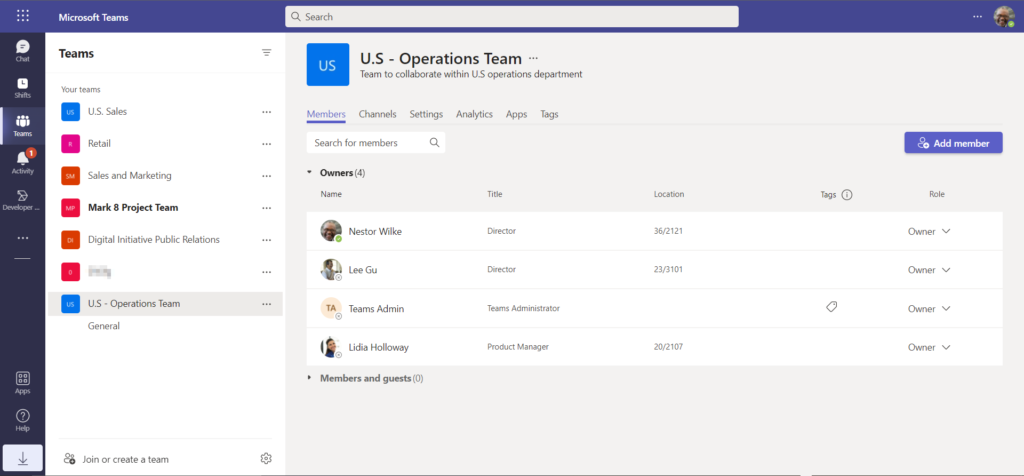
Accidental Oversharing – Taming the Wild West of Permissions
One of the biggest risks in any SharePoint environment is accidental oversharing of sensitive information. SAM helps organizations identify and remediate these risks through features such as:
- Access Reviews: Automated reports highlight excessive or outdated permissions, enabling administrators to take corrective action.
- Sharing Controls: Policies can be enforced to restrict sharing of certain file types or limit external sharing.
- Auditing and Reporting: Advanced logging provides visibility into sharing activities, ensuring compliance with security policies.
By leveraging these tools, organizations can mitigate security risks, ensuring that only the right users have access to the right content, an essential step before enabling Copilot.
Minimize Your Content Governance Footprint – Streamlining for Efficiency
Microsoft Copilot’s efficiency is directly tied to the quality and relevance of the data it processes. Organizations with cluttered SharePoint environments may experience degraded performance and unnecessary costs. SAM offers capabilities to reduce redundant, obsolete, and trivial (ROT) content through:
- Data Lifecycle Management: Policies that automate archiving or deletion of outdated content.
- Content Insights: Identifies and flags low-value content, enabling administrators to focus on high-priority data.
- Retention Labels: Ensures only necessary content is retained, reducing Copilot’s processing burden.
A leaner, well-structured SharePoint environment not only improves Copilot’s efficiency but also enhances its ability to provide accurate and relevant responses.
Improve Copilot Response Quality – Feeding Copilot the Right Data
Copilot’s output quality depends on the integrity of the data it analyzes. SAM helps improve content relevance and accuracy through:
- Metadata Enrichment: Standardizes data classification, making it easier for Copilot to extract meaningful insights.
- Duplicate Content Detection: Reduces information overload by identifying and consolidating redundant documents.
- Content Curation Tools: Helps teams maintain well-organized libraries, ensuring Copilot pulls from authoritative and up-to-date sources.
By cleaning up SharePoint content, organizations can ensure Copilot provides more precise, actionable responses to users.
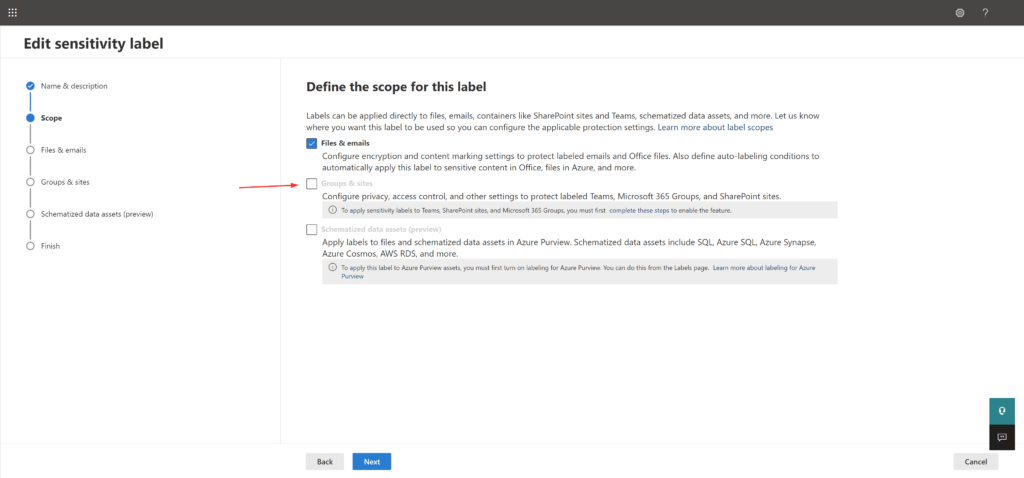
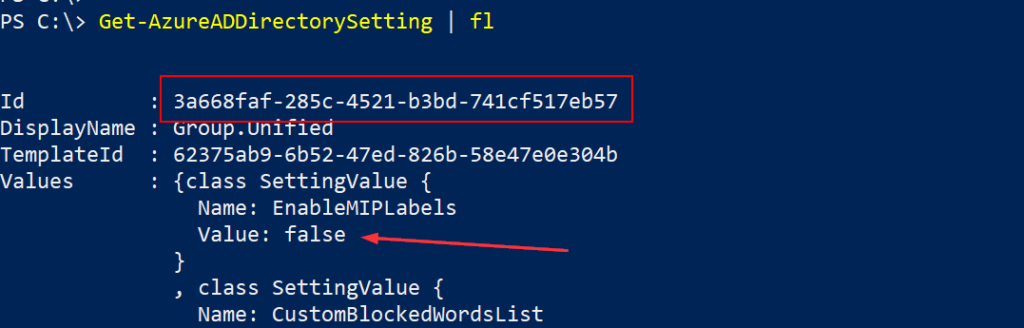
Control Content Access by Copilot – Ensuring Data Privacy and Compliance
As organizations integrate Copilot into their workflows, maintaining control over which content Copilot can access is crucial for privacy and regulatory compliance. SAM provides several features to manage Copilot’s data access:
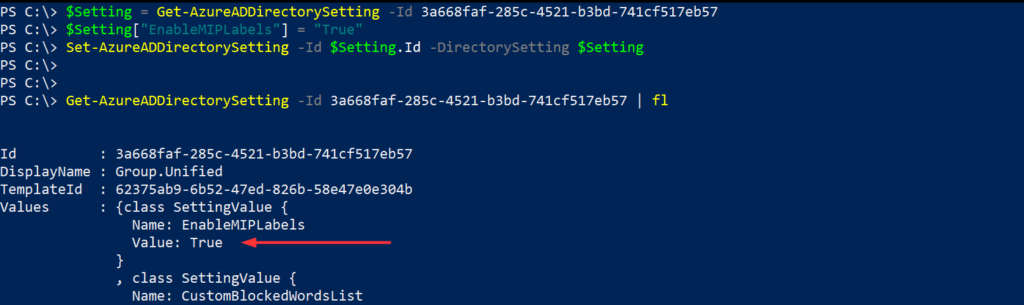
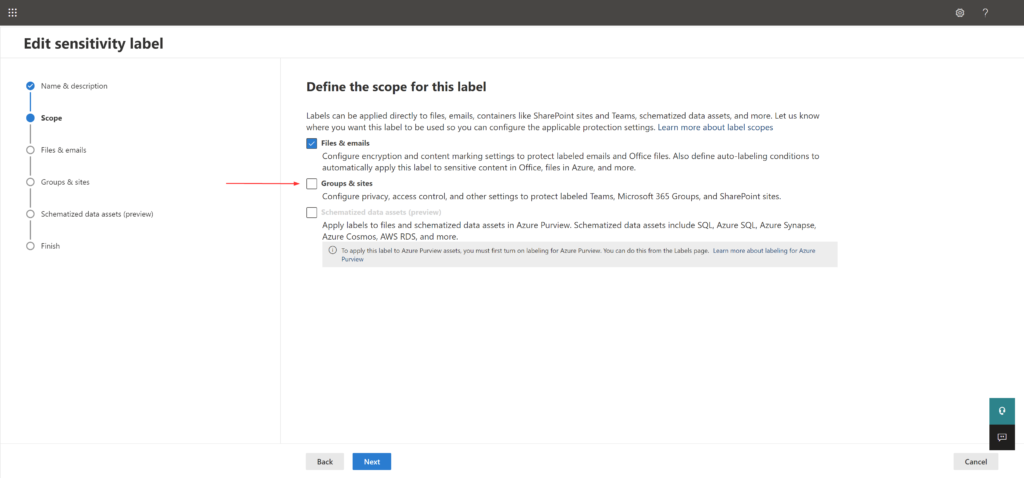
- Sensitivity Labels: Prevents Copilot from analyzing or referencing classified documents.
- Conditional Access Policies: Restricts Copilot’s access based on location, device, or role.
- Permissions Management: Ensures that Copilot can only interact with approved datasets, reducing the risk of data leakage.
These tools help organizations align Copilot usage with internal and external compliance requirements, protecting sensitive business information.
Ensure Data Safety for Business-Critical Sites – Protecting Your Crown Jewels
Certain SharePoint sites contain mission-critical data that require enhanced security and governance. SAM enables organizations to fortify these high-value sites by:
- Access Reviews for Critical Sites: Periodically verifies that only authorized users retain access.
- Advanced Threat Protection: Detects and prevents unauthorized access attempts.
- Lifecycle Management: Ensures outdated or irrelevant data is systematically archived or deleted.
By implementing these controls, organizations can protect their most valuable digital assets while maintaining Copilot readiness.
Conclusion
Preparing for Microsoft Copilot requires more than just enabling AI-powered tools, it demands a well-governed, secure, and optimized SharePoint environment. SharePoint Advanced Management provides the essential capabilities to streamline content, secure sensitive data, and enhance permissions management, ensuring Copilot delivers accurate and efficient insights. By leveraging SAM, organizations can maximize the value of Copilot while maintaining security and compliance.
Start preparing your SharePoint environment today to unlock the full potential of Microsoft Copilot!
Thanks for stopping by. ✌