October is Cybersecurity Awareness Month — that time of year when we remind everyone that “Password123” isn’t clever, and clicking suspicious links doesn’t count as continuing education.
As part of this month’s awareness focus, I’m turning the spotlight on one of the most critical and misunderstood pillars of enterprise IT: Active Directory (AD) — the brain of your IT environment. It decides who gets access, who doesn’t, and whether that intern really needs Domain Admin privileges (spoiler: they don’t).
But this brain, while brilliant, is also a favorite target for cybercriminals. One misconfigured policy, one neglected account, and suddenly your network’s “brain” is handing out secrets like a gossiping chatbot.
So, in the spirit of staying one step ahead of the bad guys, let’s talk about how to lock down AD like the digital Fort Knox it was meant to be, without losing your mind or your weekend.
Privileged Account Management: Because Power Needs Boundaries
1. Use Dedicated Admin Accounts
Admins checking email with Domain Admin privileges? That’s like using your company credit card to buy lunch at Taco Bell — risky and unnecessary.
Create separate accounts for admin and daily work. One for privilege, one for productivity. Keep your credentials (and tacos) compartmentalized.
2. Disable Local Administrator Accounts
Every domain-joined system comes with a local admin account and attackers love them more than free Wi-Fi.
Rename or disable them, and use Microsoft LAPS to automatically rotate passwords. It’s simple, effective, and dramatically limits lateral movement.
3. Lock Down the Built-In Administrator Account
The built-in admin is basically the “root god mode” of AD and that’s why attackers target it first.
Mark it as sensitive and cannot be delegated, enforce smart card logon, and deny RDP/network access. Think of it as your digital crown jewels, under lock, key, and 24/7 surveillance.
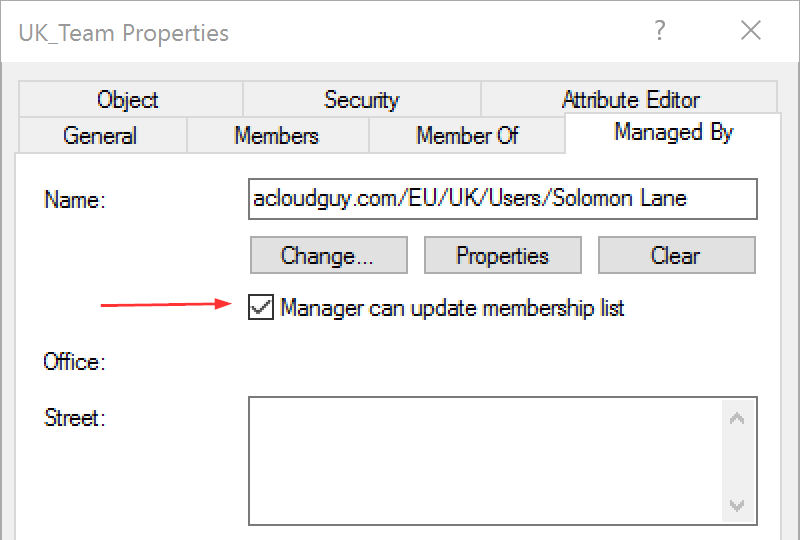
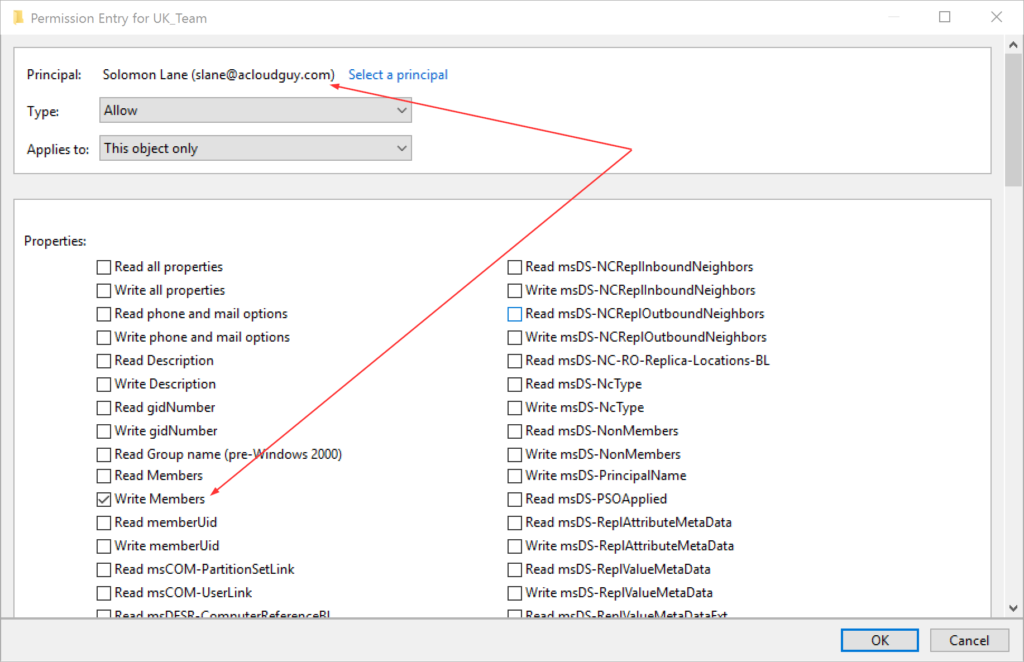
4. Limit Privileged Group Membership
Groups like Domain Admins and Enterprise Admins should be exclusive clubs, not open mic nights.
Review memberships regularly, remove anyone who doesn’t belong, and make sure each role has a purpose. The smaller the group, the smaller the blast radius.
5. Implement a Tiered Administration Model
Treat your environment like layers of a secure fortress:
- Tier 0: Domain controllers and critical identity assets
- Tier 1: Servers and infrastructure
- Tier 2: User devices and workstations
This approach prevents one compromised credential from leading to full-scale domain doom. It’s containment but stylish.
Identity Hygiene: Clean Directory, Clear Conscience
6. Remove Inactive Accounts
Nothing screams “free real estate” to hackers like dormant user accounts.
Audit and disable old or unused accounts, human or computer. The less clutter in AD, the fewer entry points for attackers.
7. Secure Service Accounts with Managed Identities
Static passwords for service accounts are digital kryptonite. Switch to Managed Service Accounts (MSAs) that rotate passwords automatically and minimize privilege creep.
They’re the automation win your AD never knew it needed.
8. Disable Guest and Anonymous Access
Guest and anonymous access are relics from a more trusting age — like floppy disks and Clippy.
If you must enable them, restrict, monitor, and set expiration dates. Better yet, don’t.
Passwords & Authentication: Fortify the Front Door
9. Enforce Strong Password Policies
Strong passwords are still your best first defense. Set a minimum of 14 characters, enforce complexity, and keep a 24-password history.
It’s not rocket science, it’s digital hygiene.
10. Fine-Grained Password Policies (FGPP)
Admins and regular users don’t need the same rules. Apply FGPP to enforce stricter requirements for privileged accounts without creating user revolt.
11. Account Lockout Policies
Configure smart lockout thresholds to stop brute-force attempts without locking out half your team every Monday morning. Balance security with sanity.
Auditing & Monitoring: Because “Trust But Verify” Is a Security Lifestyle
12. Enable Advanced Audit Policies
Turn on Advanced Audit Policy Configuration to track logons, password changes, and directory access. Logs are your crystal ball — if you bother to read them.
13. Deploy Honeypot Accounts
Honeypots are fake accounts that no one should touch.
If someone does, you’ve got a live one. These tripwire accounts are an elegant way to catch intruders red-handed.
14. Configure User Rights Assignments
Too many permissions? Too many problems.
Regularly review what users can do (logon, shut down, change time, etc.). Less privilege = less chaos.
Maintenance, Patching & Recovery: The Boring Stuff That Saves You
15. Patch Domain Controllers Regularly
Unpatched DCs are like leaving your front door open with a neon “Welcome Hackers” sign.
Patch early, patch often, and keep your DCs dedicated to identity services only.
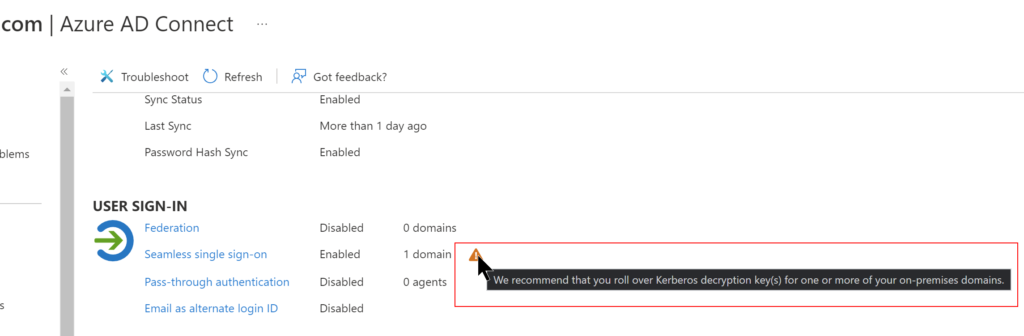
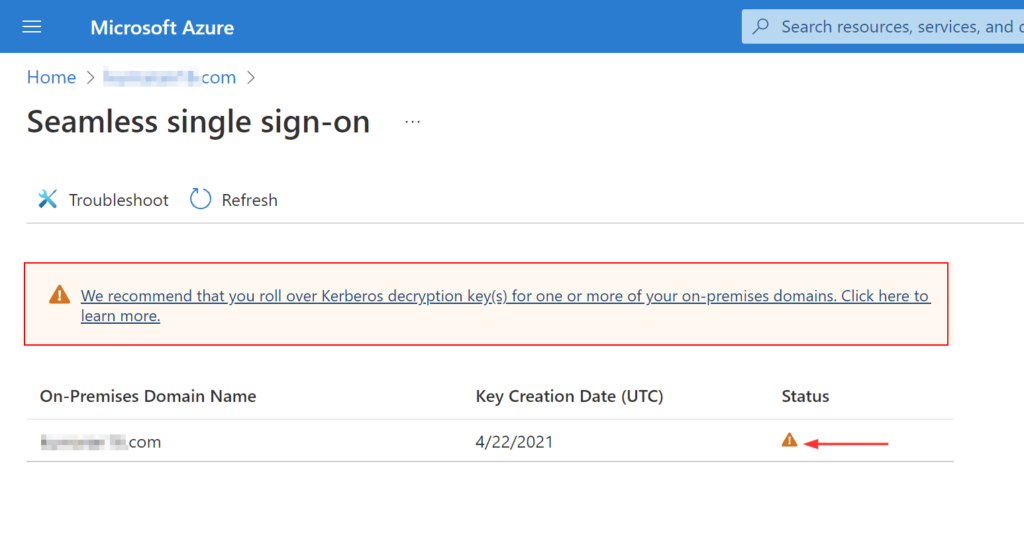
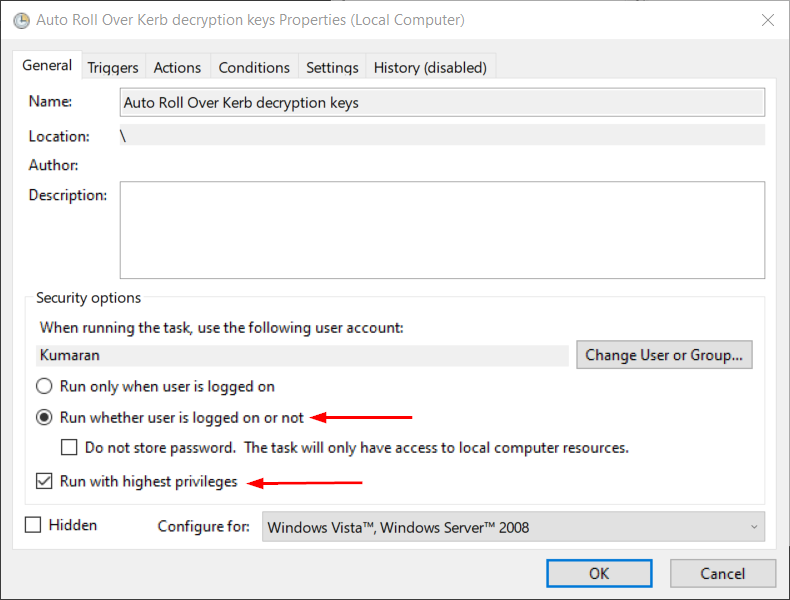
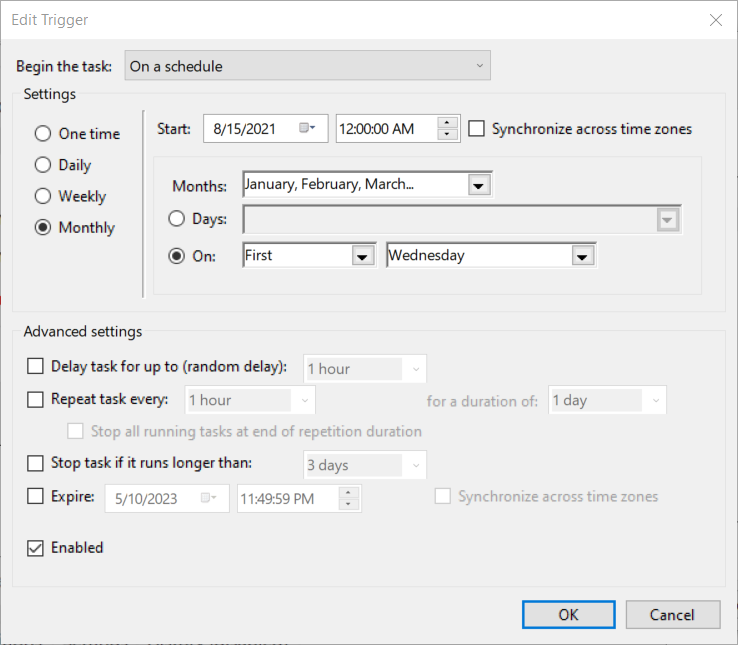
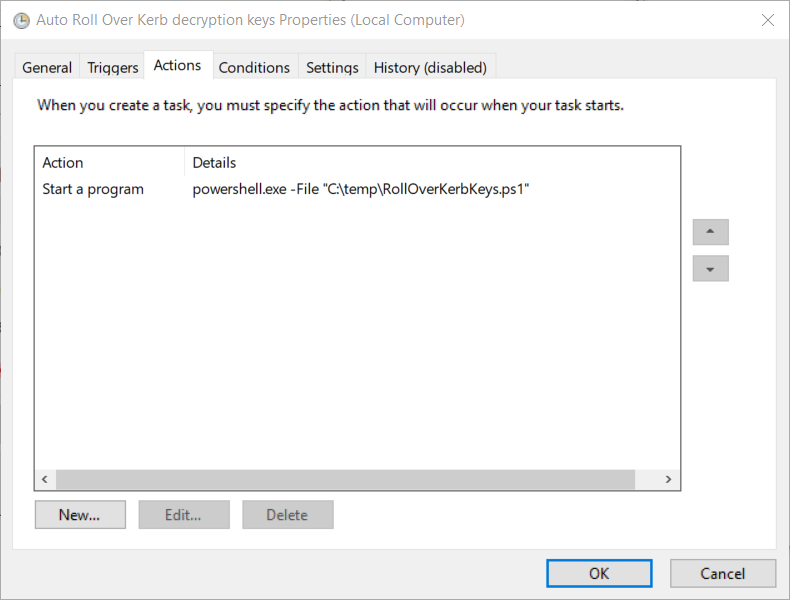
16. Reset the KRBTGT Account Password (Twice!)
If you’ve never reset your KRBTGT password, consider this your reminder.
It prevents Golden Ticket attacks, which let attackers mint fake Kerberos tickets like it’s Black Friday. Reset it twice during maintenance, it’s tedious but vital.
17. Use Secure Admin Workstations (SAWs)
Admins shouldn’t manage AD from general-use machines.
Deploy isolated, hardened SAWs — no web browsing, no random installs, no nonsense. Treat them like clean rooms for your digital operations.
18. Perform and Test Active Directory Backups
Backups are useless until tested. Run regular AD backups, verify integrity, and document recovery procedures. When disaster strikes, you’ll thank your past self.
Final Thoughts: Security Is a Journey, Not a Checkbox
Securing Active Directory isn’t a one-time project, it’s a habit. You review, patch, audit, and repeat. Because the moment you stop, the adversaries don’t.
So tighten your policies, clean up those stale accounts, and check your audit logs like your paycheck depends on it because it just might.
Wrapping It Up: Stay Cyber-Aware, Not Cyber-Weary
As Cybersecurity Awareness Month reminds us, security isn’t about fear, it’s about habit. The small, consistent things you do today like rotating passwords, trimming privileges, and auditing regularly, stop tomorrow’s breach before it starts.
Active Directory may be the brain of your IT environment, but you are its conscience. Keep it clean, disciplined, and alert, and it’ll serve your business faithfully without gossiping to strangers on the internet.
So take a few minutes this month to revisit your AD setup, fine-tune your defenses, and maybe even drop a honeypot or two. Because security isn’t a checklist — it’s a mindset.
Stay sharp, stay patched, and may your logs always tell the truth.
Good AD security doesn’t just keep attackers out, it keeps you out of the next incident postmortem.
Thank you for stopping by. ✌️