Please checkout Part I if you landed directly on this page.
This post is a continuation how to Forms and Power Automate can be used to create an approval workflow to automatically provision a Team. We will see the user’s experience here.
When user submits the Microsoft Form, the approver gets an email.

In my scenario, I’m using a service account called ‘Teams admin’ and I can see the email as below,
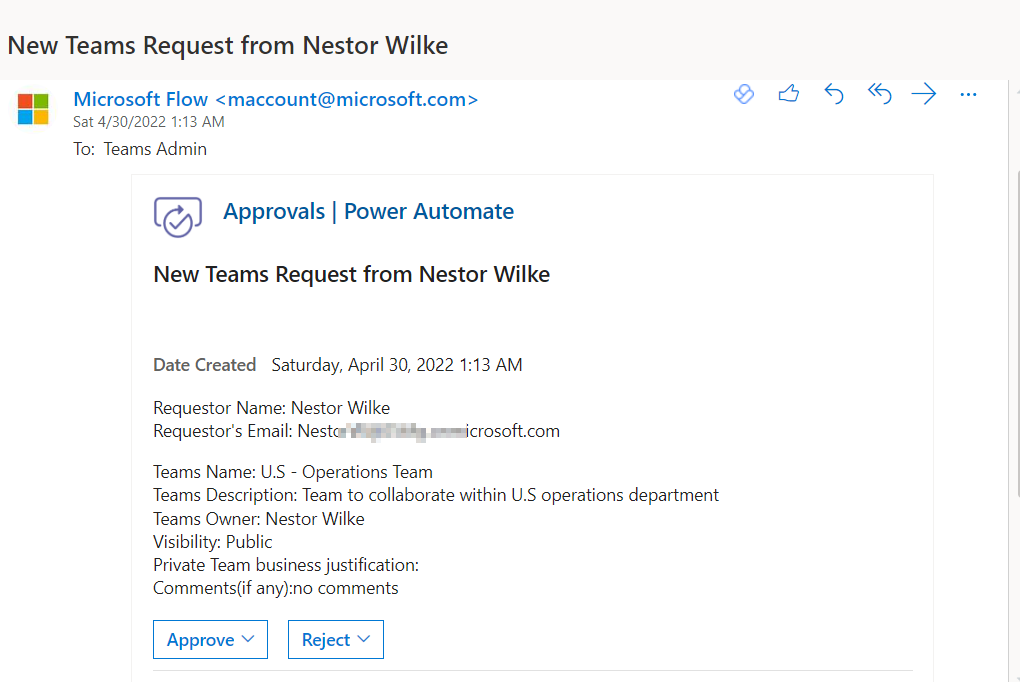
In the Outlook.office.com, the approver can directly click on ‘Approve’ or ‘Reject’ and also add comments if they wish to.

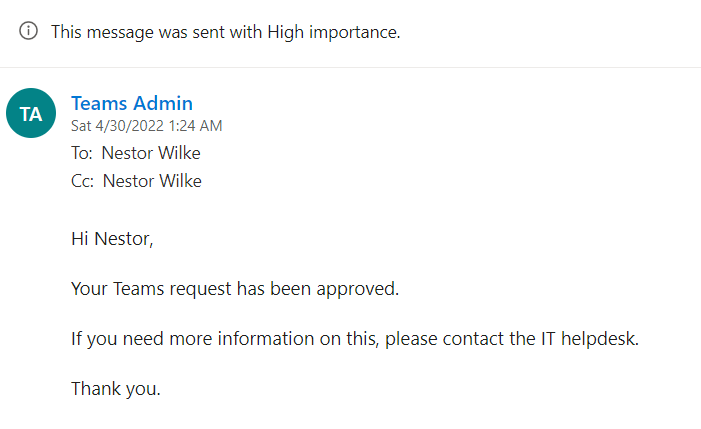
Once approved, the rest of the flow runs and at the end the user gets an email confirming the Team creation.
User can also launch Teams and check that he is part of the new Team that was created.

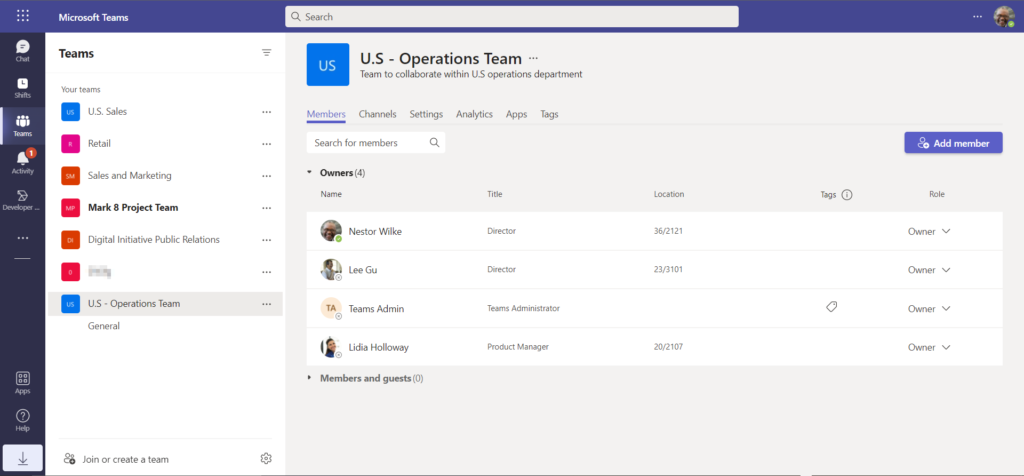
As you can see the ‘Teams admin’ service account is also a owner in the Team it created. This might become an issue during compliance audits and this can be fixed by adding a step in Power Automate with a HTTP request.
The HTTP request option is a premium feature and hence no screenshot here.
DELETE https://graph.microsoft.com/v1.0/groups/{id}/owners/{id}/$refThis is a short post as most of the inner workings of this process was covered in the earlier one.
Thank you for stopping by. ✌