In this post I will go over the steps required to implement Azure AD SSO integration with ServiceNow. With this in place, it is easier to control access to your ServiceNow implementation and also allow your users to login with their domain credentials.
ServiceNow also supports user account provisioning which I will cover in a later post.
I’ve updated this post for ServiceNow San Diego version. The earlier versions may have different UI options but the steps behind the integration mostly remains the same.
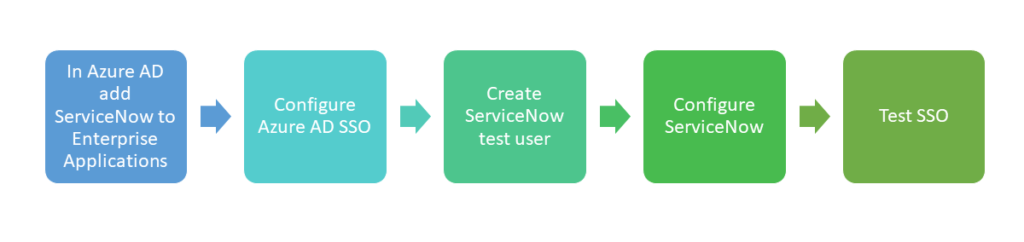
In Azure AD add ServiceNow to Enterprise Applications
To configure this integration, first step is to add ServiceNow from the gallery to your list of managed SaaS apps. Below are the steps,
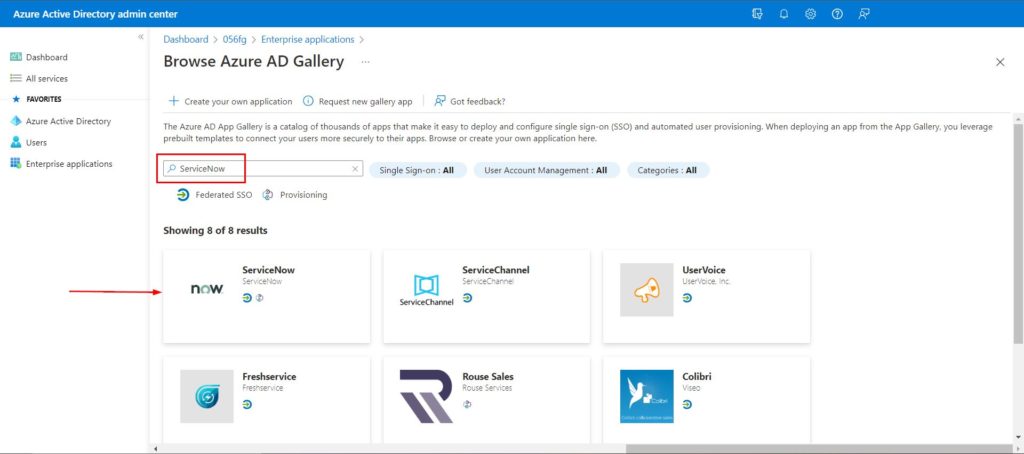
- Login to Azure AD Admin Center and click on the Enterprise applications tab
- To add new application, Click New application
- In the Browse Azure AD gallery section, enter ServiceNow in the search box
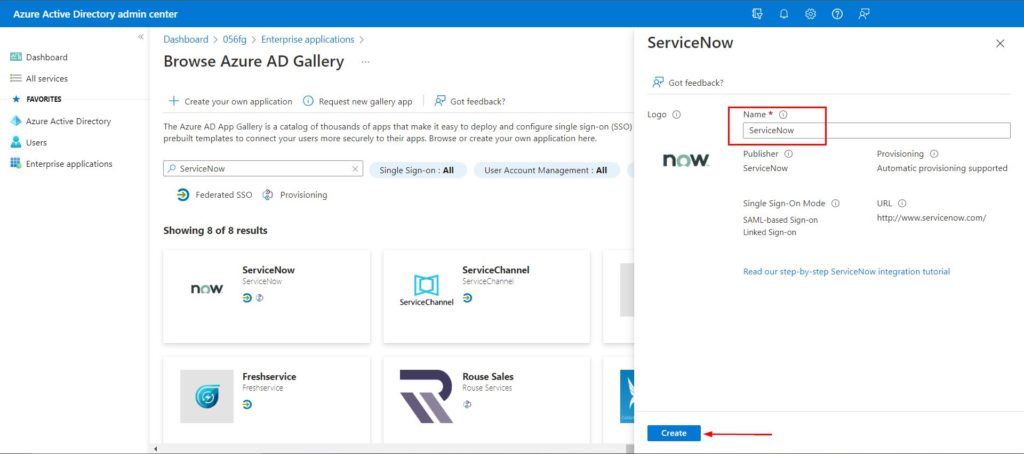
- Select ServiceNow and you can name it to differentiate from development to production instance with a prefix but in this scenario, I’ll leave it as default as in screenshot below. Click Create
- It takes a few seconds for the app to be added
Configure Azure AD SSO
Below steps details how to enable SSO in Azure AD portal for the ServiceNow application,
- On the ServiceNow application page, select SAML-based Sign-on under the Manage section. Select SAML
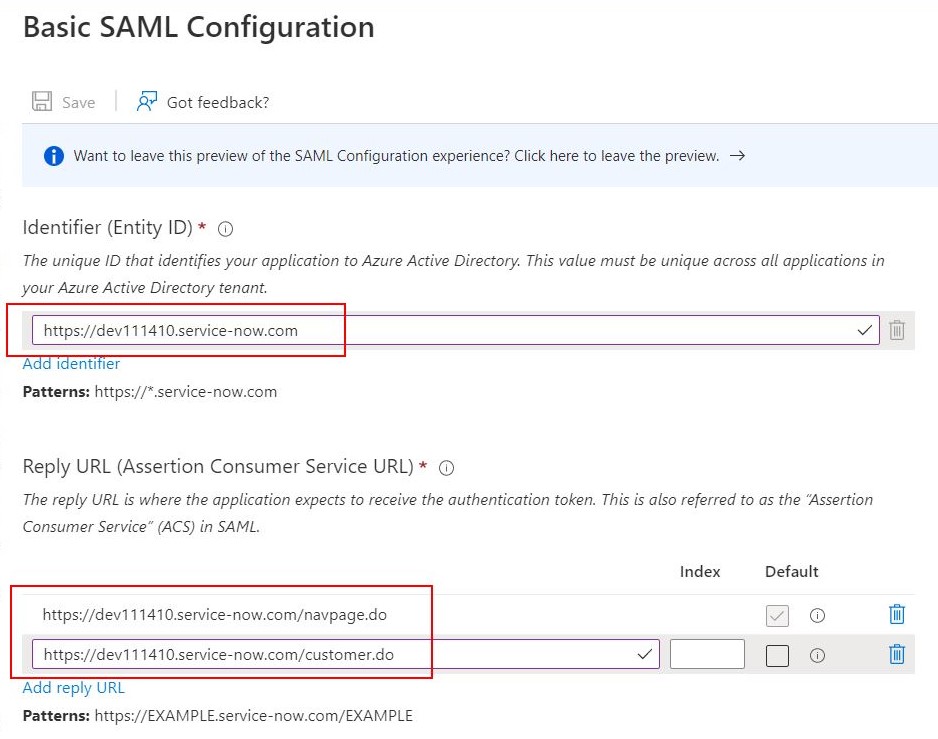
- Select the edit icon in the Basic SAML configuration section
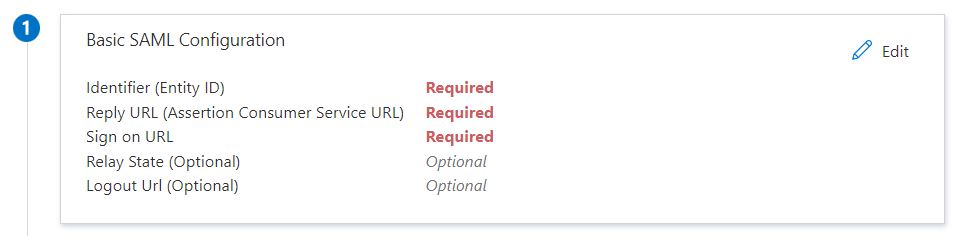
Your ServiceNow administrator should know this information and if not, you can contact ServiceNow support. But in general, this information is easy to figure out. I’ve mentioned the format of these URLs below. and I have used my own instance’s URL in the screenshot.
| Identifier (Entity ID) | https://{your-instance-name}.service-now.com |
| Reply URL | https://{your-instance-name}.service-now.com/navpage.do https://{your-instance-name}.service-now.com/customer.do |
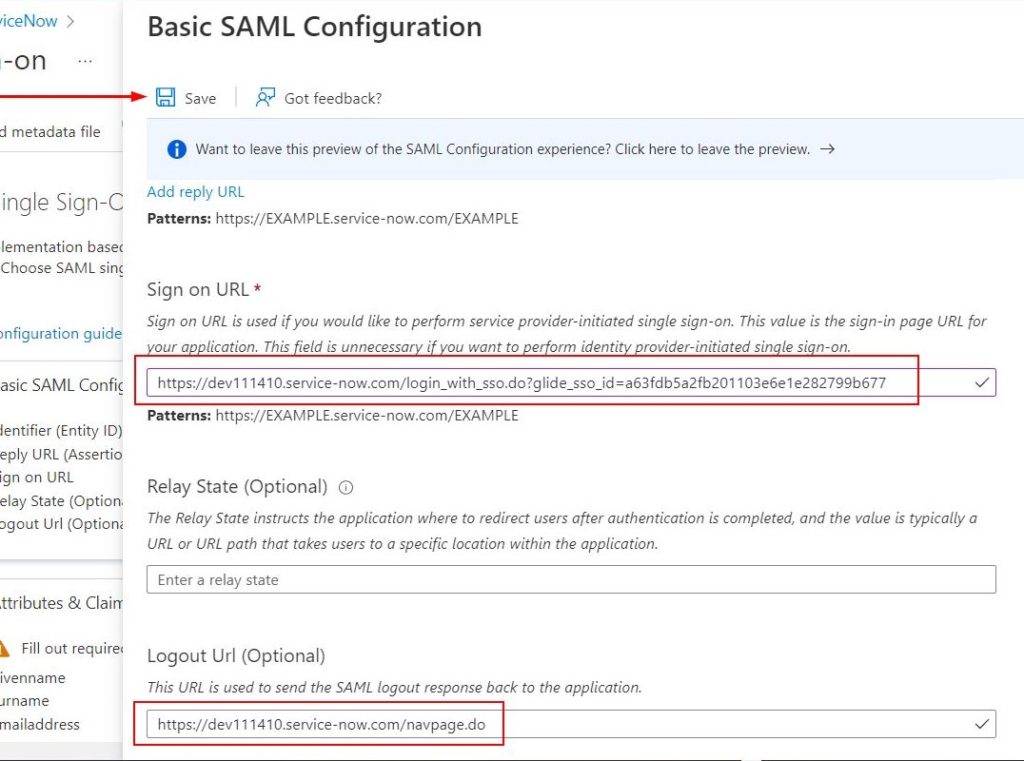
| Sign on URL | https://{your-instance-name}.service-now.com/login_with_sso.do?glide_sso_id=[sys_id of sso configuration] |
| Logout URL | https://{your-instance-name}.service-now.com/navpage.do |
Please follow along and I have a step below on how to determine the sys_id value from ServiceNow for the Sign on URL. Refer to Step 16. under the ‘Configure ServiceNow’ section below.
Below screenshots show values from my environment. I constructed the Sign on URL based on the sys_id information I got from ServiceNow as mentioned above
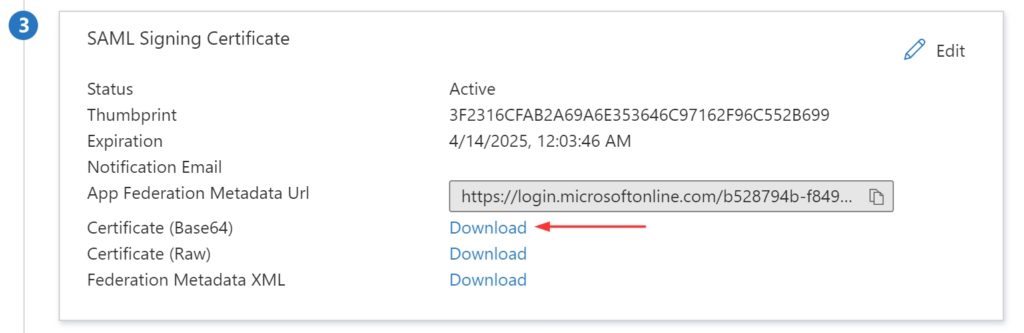
- In the SAML Signing Certificate section, find Certificate (Base64). Click Download to download Certificate(Base64), and then save the certificate file to your computer.
Create ServiceNow test user
- In ServiceNow portal, go to User Administration > Users
- Click New, complete the properties for your new user, and click Submit
Most organizations do ‘Automated user provisioning’ and this way you won’t have to create all the users in your Azure AD domain onto ServiceNow. But to make the SSO part easier, co-ordinate with your ServiceNow administrator and create an user account in ServiceNow with the email ID of a user in your Azure AD.
Configure ServiceNow
- Login on to your ServiceNow application portal as an administrator
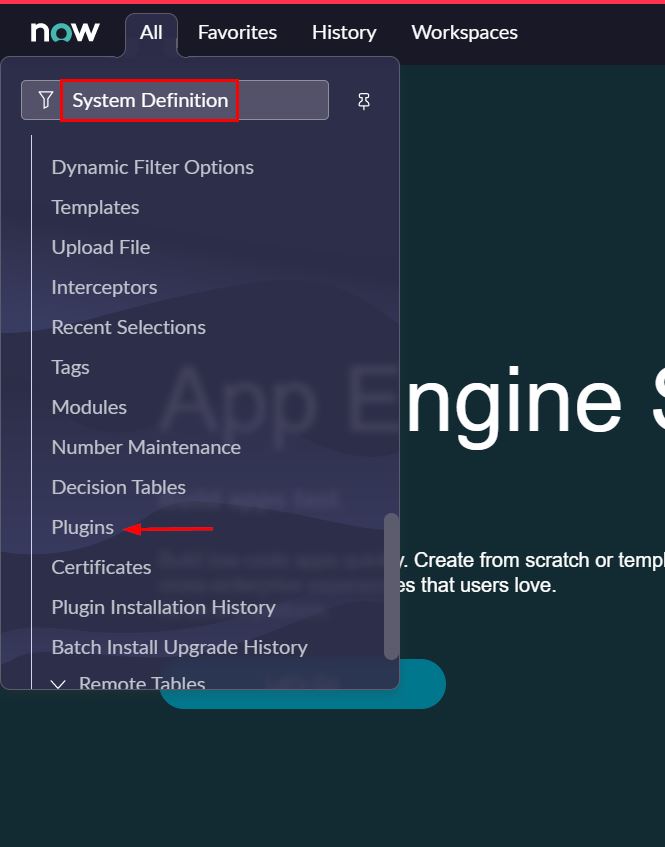
- In the left pane, search for the System Definition section from the search box, and then select Plugins
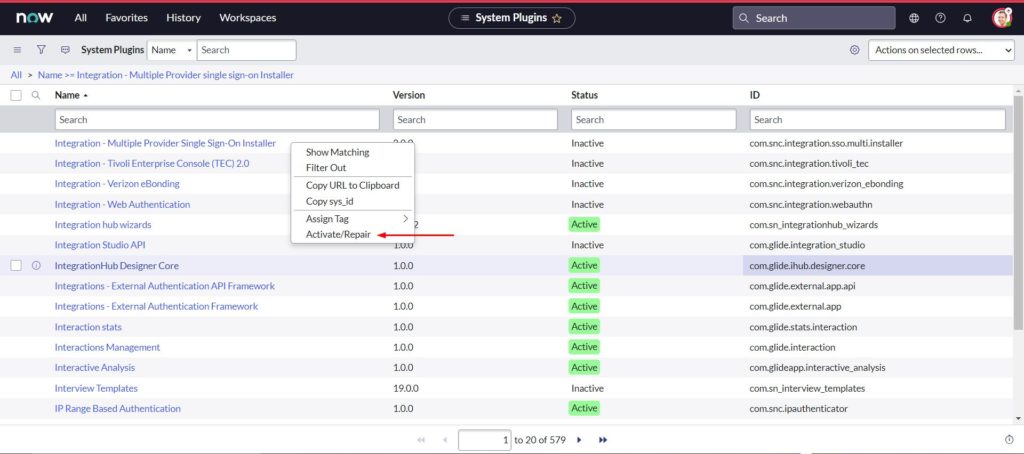
- Search for Integration – Multiple Provider single sign-on Installer
- Right-click, and select Activate/Repair
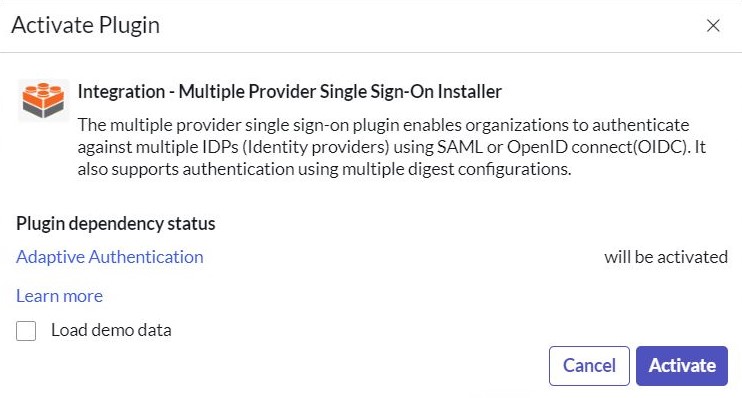
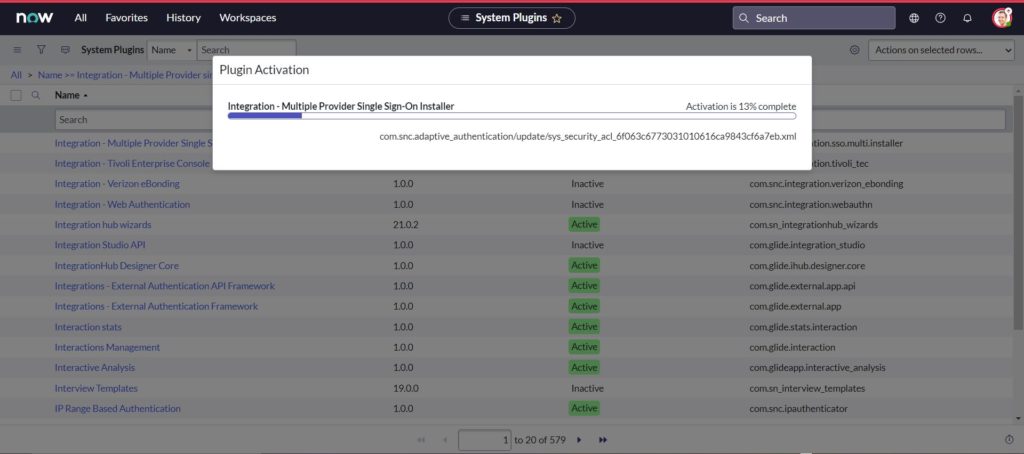
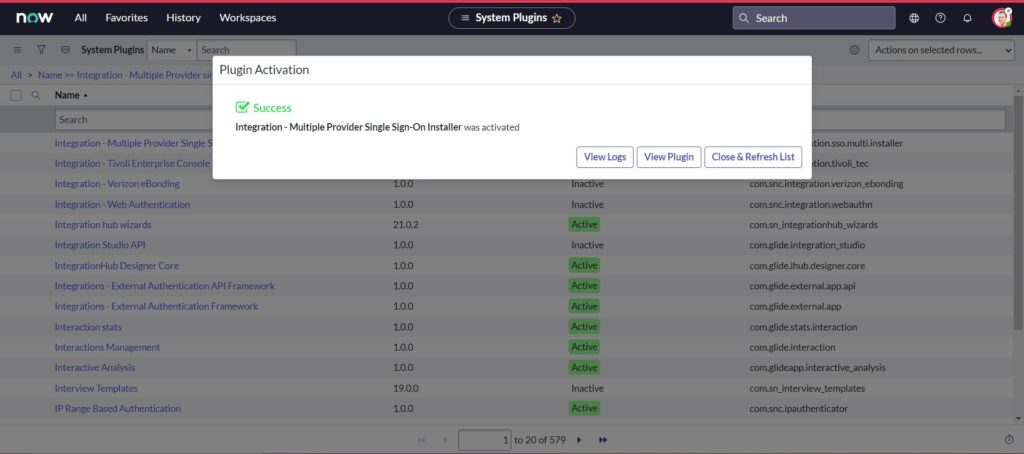
- Select Activate
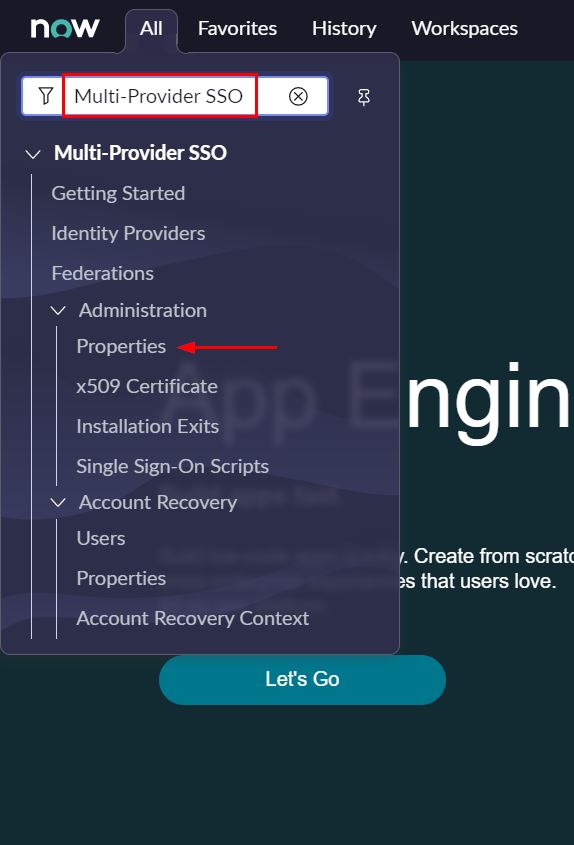
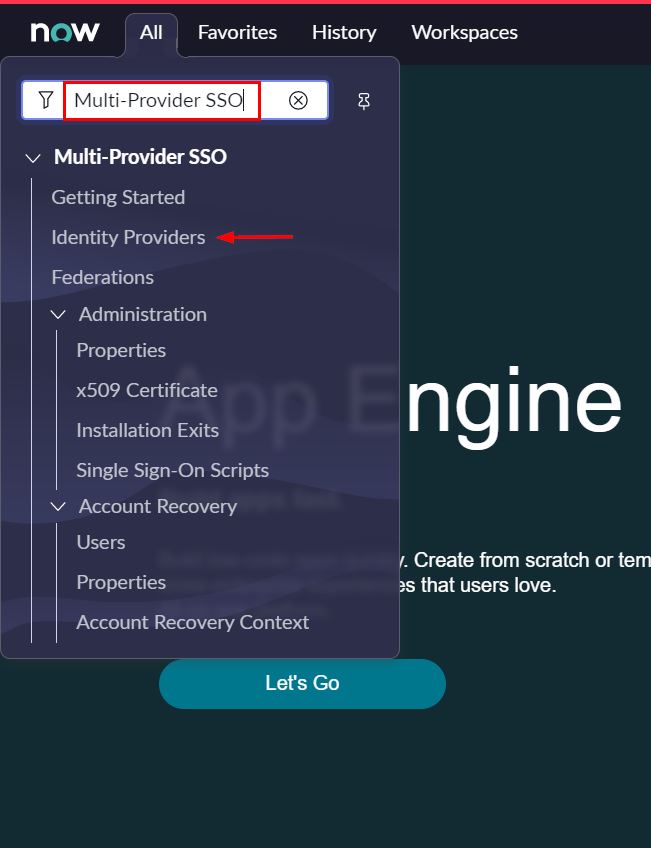
- In the left pane, search for the Multi-Provider SSO, and then select Properties
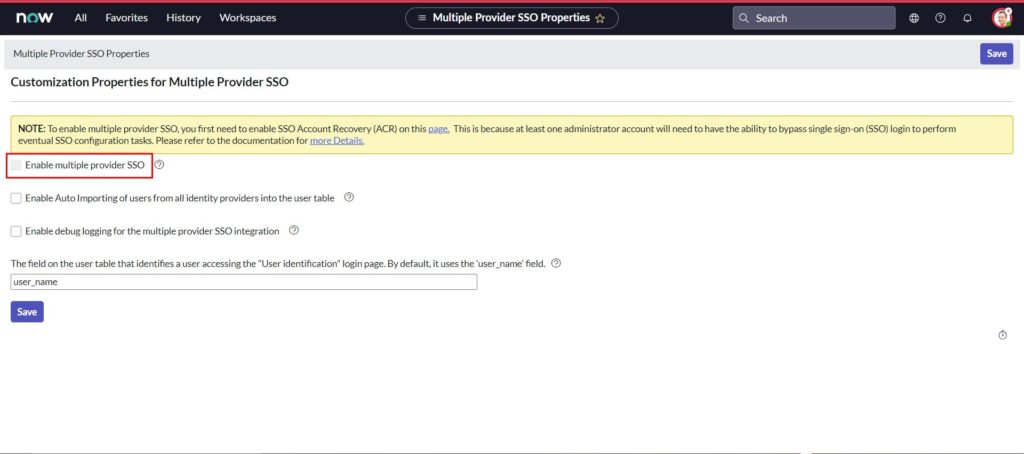
- Enable multiple provider SSO option is not active as in screenshot below and this is because Account Recovery is not setup. This comes in handy if something goes wrong with the SSO configuration and prevents admins from being locked out.
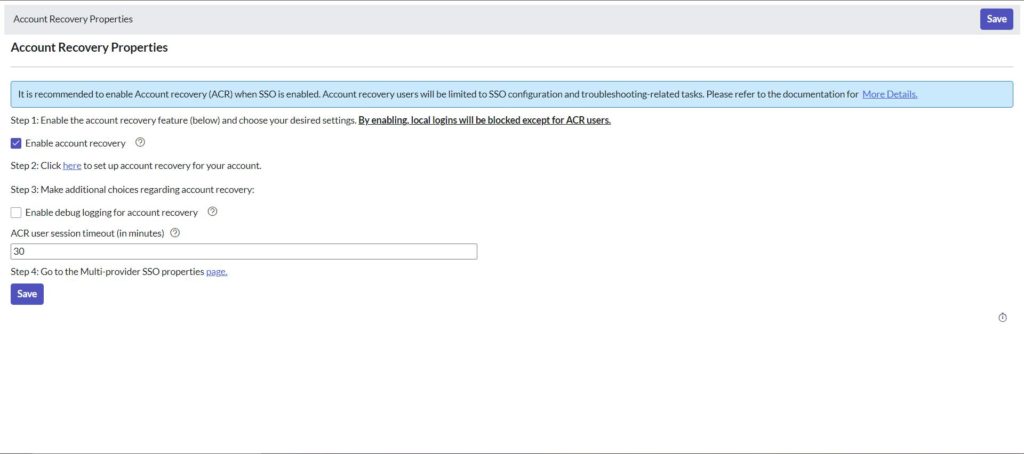
- Place a checkmark next to Enable account recovery to enable it
- Now back on the Customization Properties for Multiple Provider SSO page, place check mark next to below options,
- Enable multiple provider SSO
- Enable Auto Importing of users from all identity providers into the user table
- Enable debug logging for the multiple provider SSO integration
- The field on the user table that…,
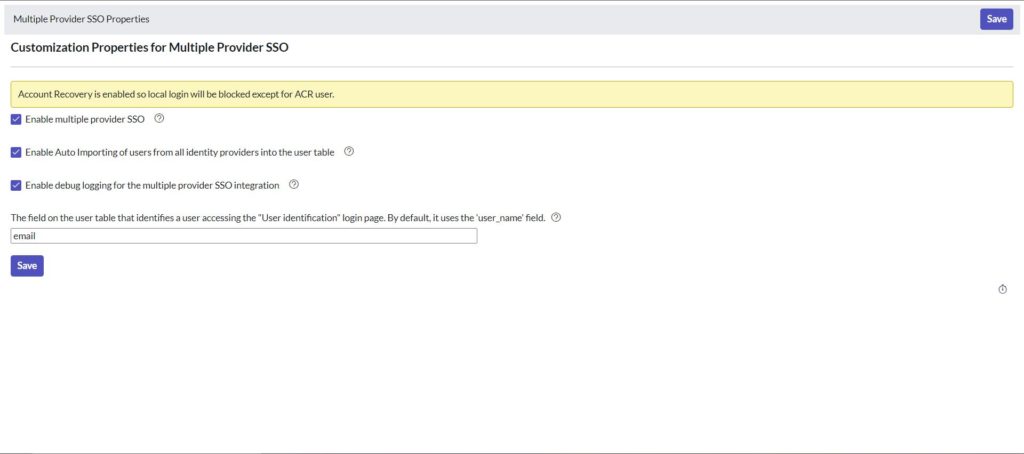
- Click Save to save configuration
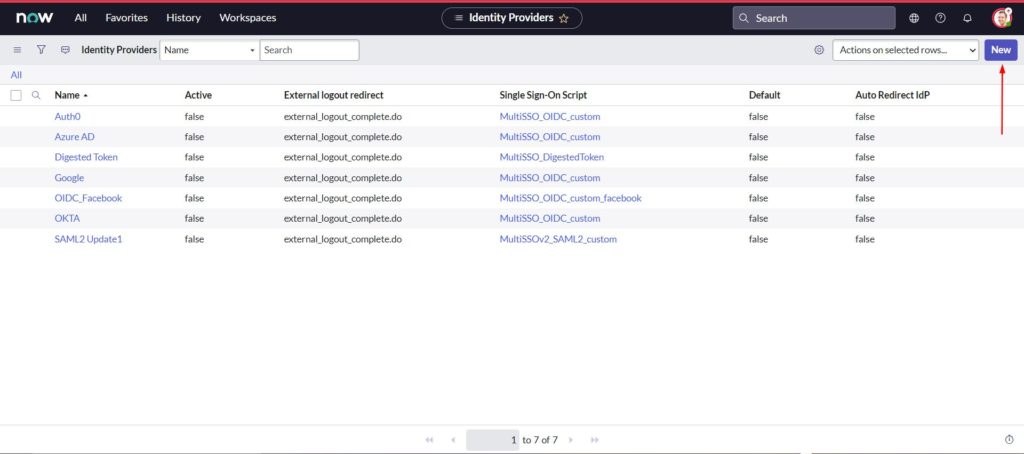
- In the left pane, search for the Multi-Provider SSO, and then select Identity Providers
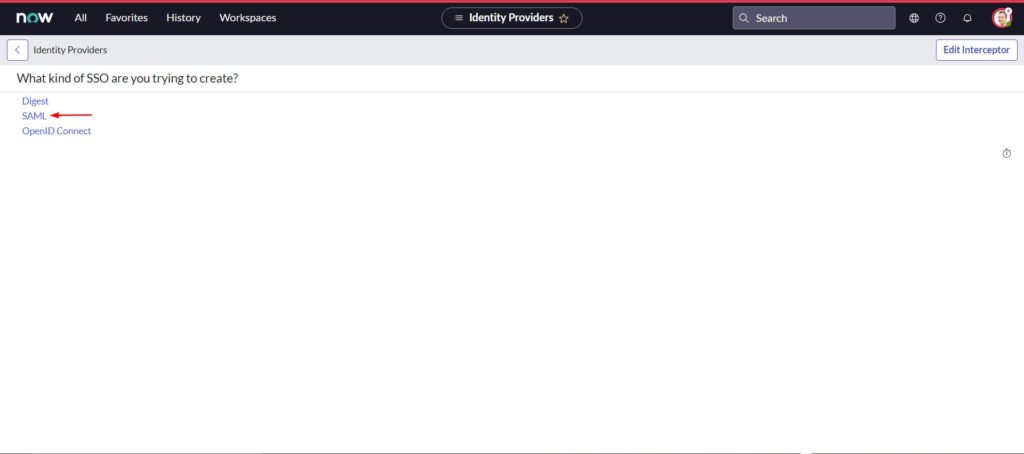
- Click New
- select SAML
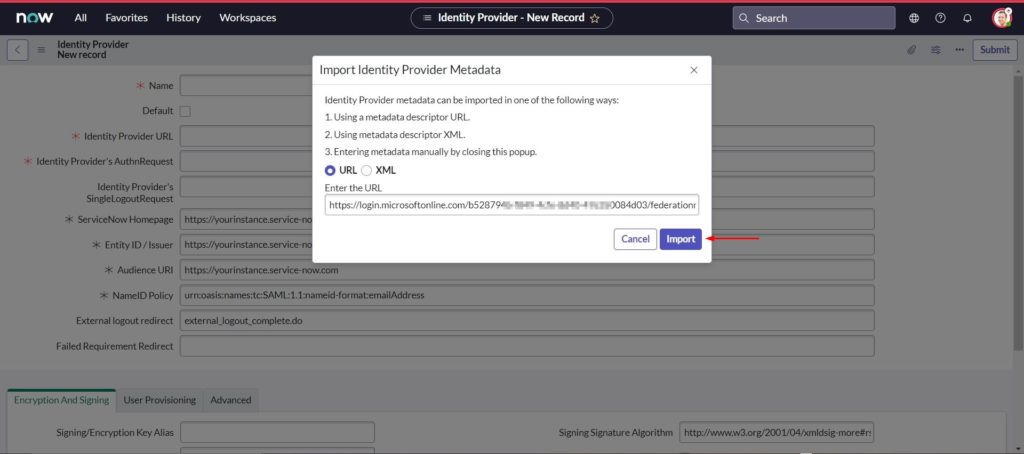
- In the Import Identity Provider Metadata, select URL
- The Metadata Url can be found in the Azure AD ServiceNow application SAML Signing Certificate section
- Copy the App Federation Metadata Url value

- Paste the App Federation Metadata Url from Azure AD under Enter the URL and click Import
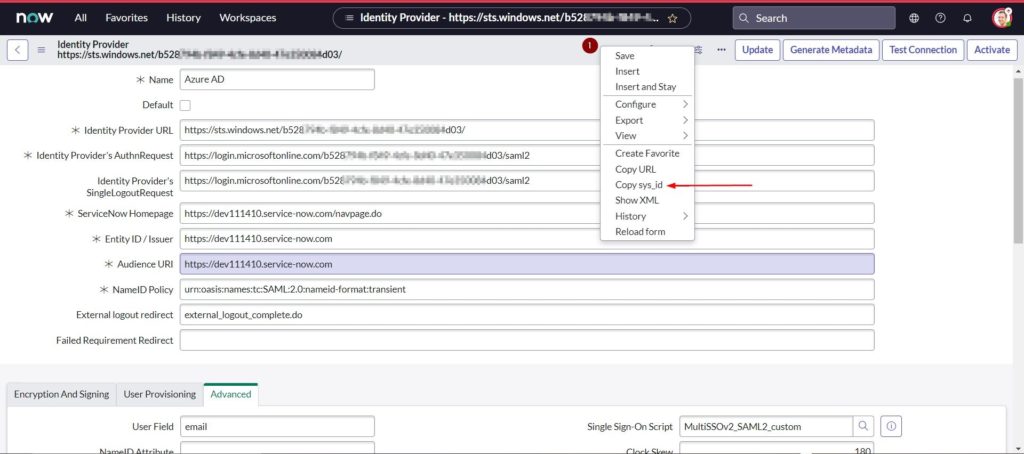
- Right click on the grey bar at the top of the screen and click Copy sys_id and save this value in a notepad to construct your Sign on URL in Azure AD
- The import metadata url reads the metadata and populates all the necessary information
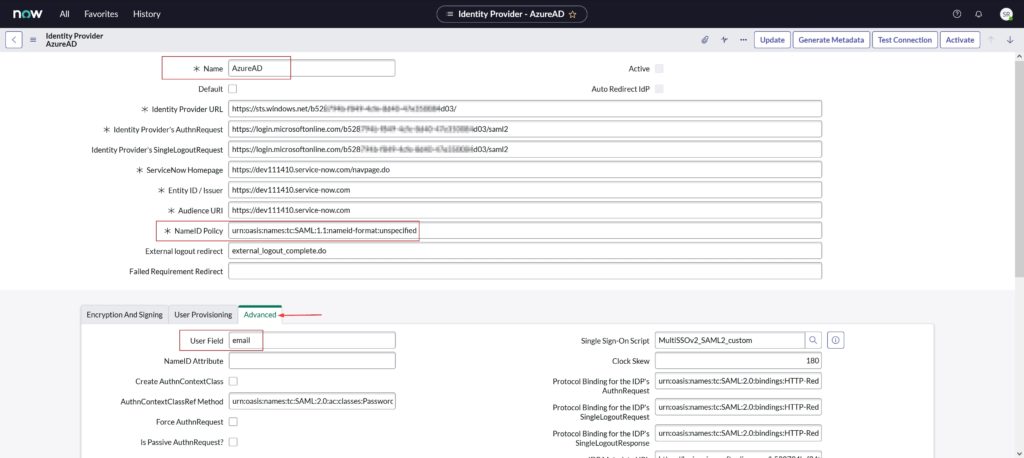
- Enter a name for your configuration. I’ve named it ‘Azure AD’
- Confirm the NameID Policy is set to urn:oasis:names:tc:SAML:1.1:nameid-format:unspecified
- Select Advanced. In User Field, enter email
- Scroll down to the Encryption And Signing tab and X.509 Certificate section, and select New
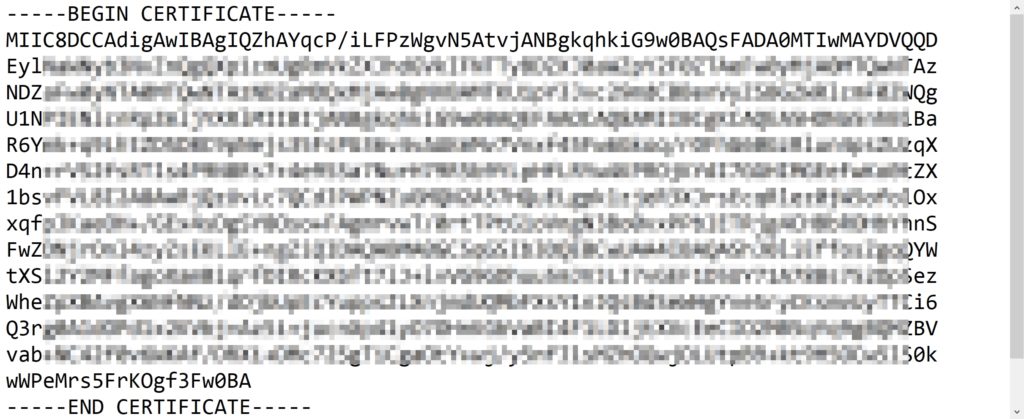
- Open the .cer file with notepad which was downloaded from Azure AD and saved to your PC
- copy the entire content and leave it in the clipboard
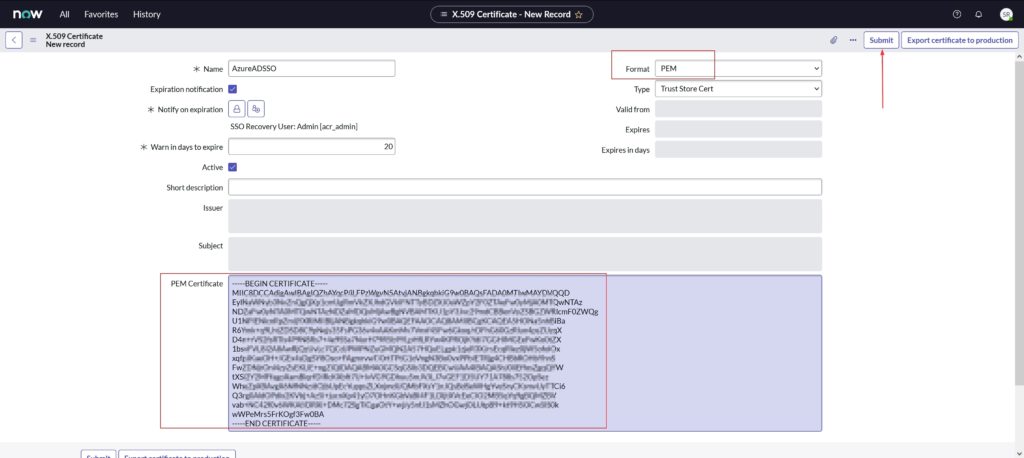
- Paste the contents in PEM certificate section
- Provide a Name
- Select Format as PEM
- Click Submit
- Click Update

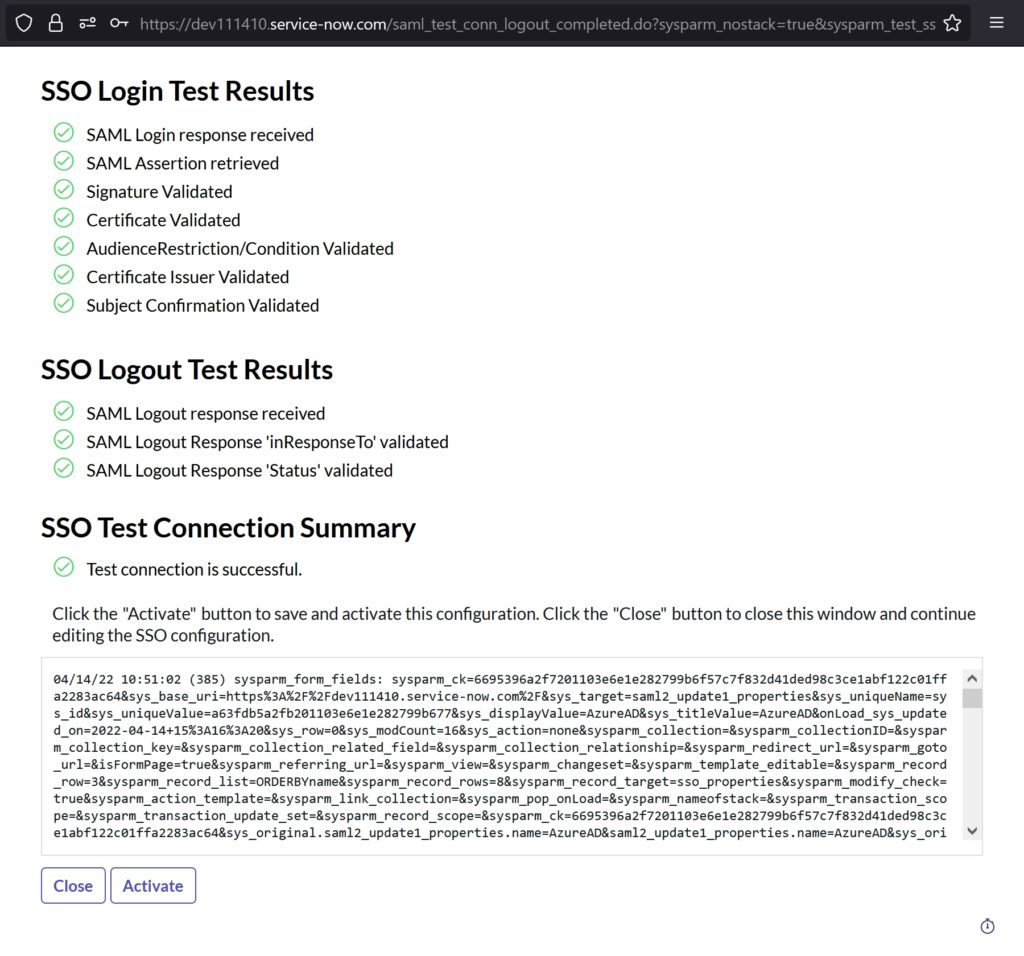
- Click Test Connection at the upper-right corner of the page
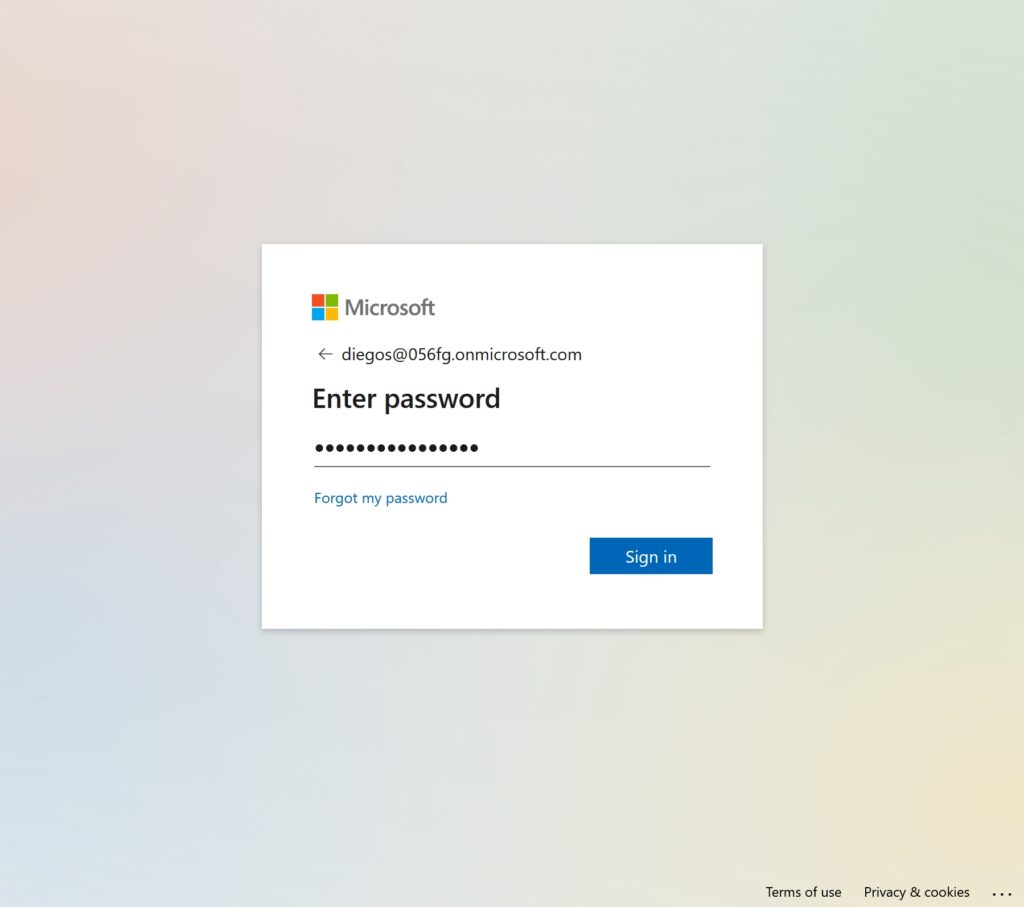
- Sign-in using the test user account created earlier in the ‘Create ServiceNow test user’ section
- Click Close
- Click Activate

- Ensure Default and Active are checked like in screenshot below

- To ensure ServiceNow auto-redirects the users to Azure AD SSO, click on the Set as Auto Redirect IdP in the Related Links section
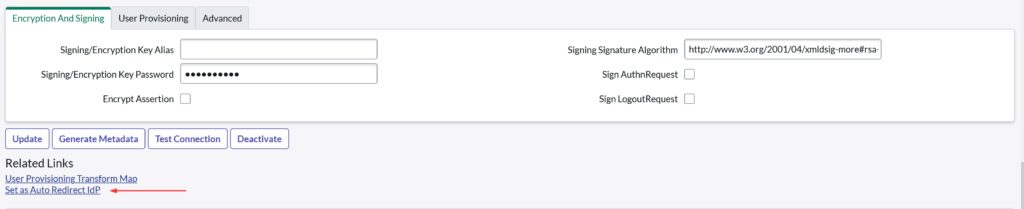

- Click Update to save the configuration
Test SSO
- Open ServiceNow portal
- Use Incognito or InPrivate mode to avoid previously saved cookies
- The portal should auto-redirect to login.microsoftonline.com and prompt a sign-in
Issues you may encounter and How to fix it
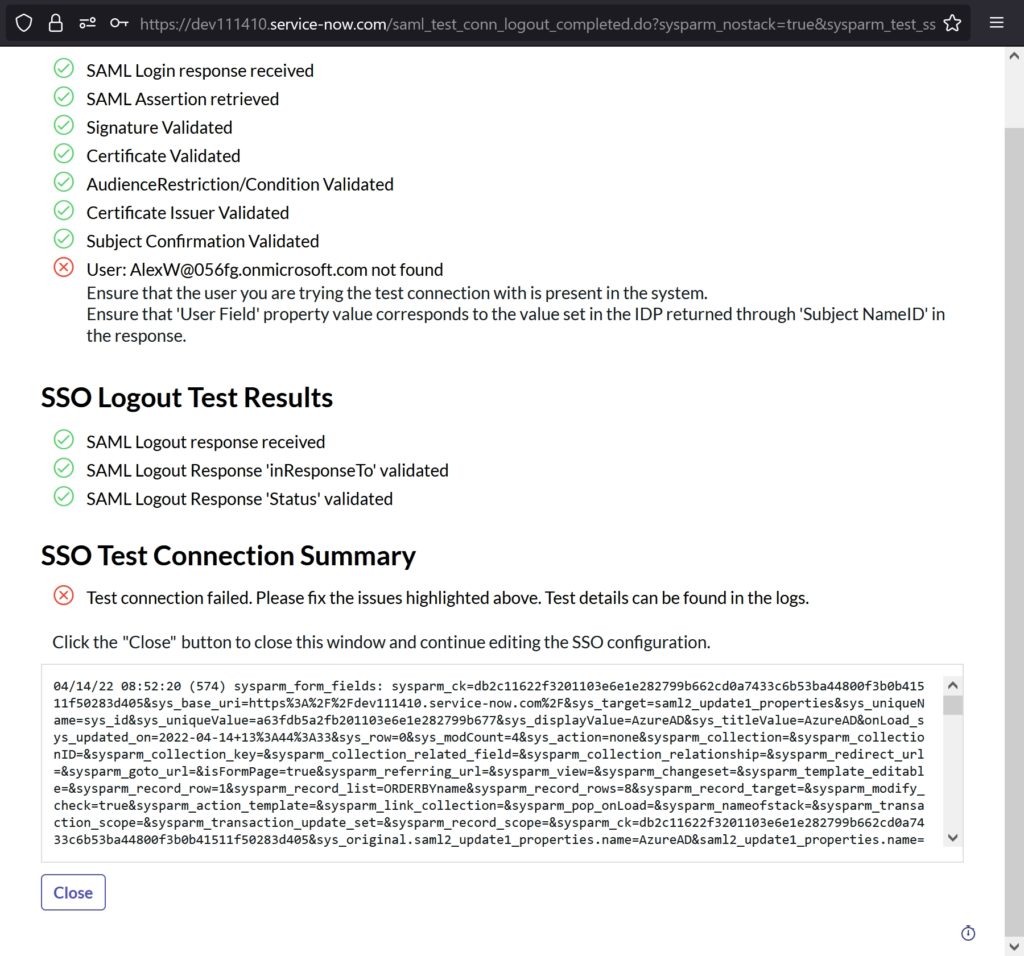
Error: Ensure that the user you are trying the test connection with is present in the system.
Ensure that ‘User Field’ property value corresponds to the value set in the IDP returned through ‘Subject NameID’ in the response.
Fix: I tried the SSO with a user ID that only existed in Azure AD and not in ServiceNow. The System didn’t know what to do and hence the error..duh!
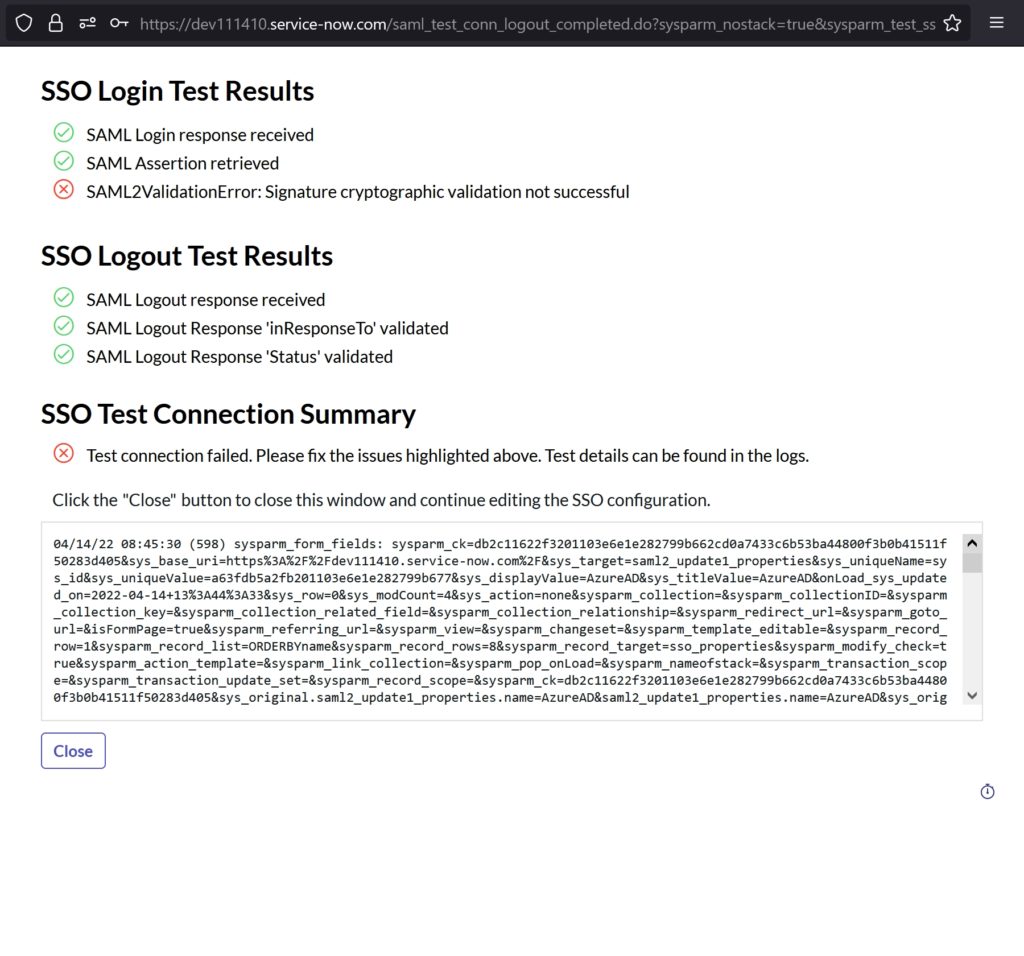
Error: SAML2ValidationError: Signature cryptographic validation not successful
Fix: I imported the PEM certificate from Azure AD into ServiceNow but I forgot to save it by not clicking update
This should help you with the Azure Active Directory single (SSO) integration with ServiceNow. I believe I’ve covered everything in this process.
Thank you for stopping by.✌