Let’s be real—managing SharePoint at scale is no walk in the park. When you’ve got thousands of users, sprawling document libraries, and security risks lurking around every corner, the last thing you need is more complexity. Enter Microsoft SharePoint Premium, specifically its SharePoint Advanced Management capabilities, designed to bring order to the chaos.
But is it just another fancy add-on, or does it actually make your life easier? Let’s break it down.
Table of Contents
Site Lifecycle Policies: Keeping SharePoint Tidy
Without oversight, SharePoint sites tend to pile up like old emails in an unchecked inbox. That’s where Site Lifecycle Policies come in.
- Inactive SharePoint Sites Policy – Automatically detects and archives (or deletes) sites that haven’t been used in a while. Think of it as digital housekeeping that prevents clutter.
- Site Ownership Policy – Ever had a SharePoint site where no one knows who’s in charge? This policy ensures every site has a designated owner—and prompts them to confirm ownership periodically.
These policies save IT teams from sifting through forgotten sites and guessing which ones are still relevant.
Data Access Governance (DAG) Insights: Who’s Seeing What?
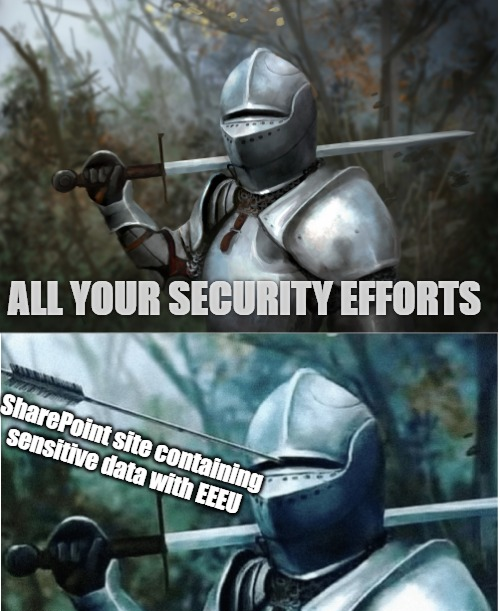
Ever worry that sensitive data is floating around where it shouldn’t be? DAG Insights help IT admins spot and control broad access issues.
- “Everyone Except External Users” (EEEU) Insights – This permission group sounds harmless, but it can sometimes overexpose data internally. DAG Insights help admins quickly identify and correct these cases.
- Sharing Links & Sensitivity Labels – Visibility into which files are shared externally (and with what sensitivity labels) ensures sensitive documents don’t end up in the wrong hands.
- PowerShell: Permission State Report – Need an exhaustive report on who has access to what? This PowerShell tool provides a deep dive across SharePoint, OneDrive, and specific files.
- Sharing Links Report – Helps admins monitor and manage shared links across the organization, reducing unnecessary exposure.
Site Access Reviews: Keeping Permissions in Check
Permissions in SharePoint can get complicated fast. The Site Access Review feature ensures that access stays intentional and secure. Admins can set up periodic reviews, prompting site owners to confirm who still needs access—and who doesn’t.
It’s like a spring cleaning for permissions, reducing security risks and keeping data locked down to the right people.
PowerShell: Restricted Content Discovery (RCD)
Sometimes, sensitive data ends up where it shouldn’t be. With Restricted Content Discovery (RCD), admins can scan SharePoint and OneDrive for files that shouldn’t be widely accessible. This helps with compliance and security audits—before problems arise.
Restricted Access Control (RAC): Locking Down Sensitive Sites
Some SharePoint sites contain data that only a select few should ever see. Restricted Access Control (RAC) ensures that even if a user has general access to SharePoint, they won’t automatically see certain sensitive sites.
This applies to both SharePoint and OneDrive, providing an extra layer of control where it’s needed most.
Recent Admin Actions & Change History: Who Did What?
Admins make changes all the time—adjusting permissions, creating new policies, modifying access levels. Recent Admin Actions and Change History provide a log of what’s been modified, making it easier to track down unexpected issues or roll back unintended changes.
Block Download Policy: Extra Security for Sensitive Content
Not all files should be downloadable—especially sensitive reports or confidential recordings. The Block Download Policy lets admins restrict downloads from SharePoint, OneDrive, and even Teams recordings. Users can still view the content online but can’t save a local copy, reducing the risk of data leaks.
Should You Upgrade?
If you’re a small team with a handful of SharePoint sites, Advanced Management might feel like overkill. But for organizations juggling hundreds (or thousands) of users, it’s the difference between smooth operations and constant headaches.
So, if your team is spending way too much time managing permissions, cleaning up inactive sites, or chasing security risks, upgrading to SharePoint Premium’s Advanced Management might just be the smartest move you make.
At the very least, it’s worth a test drive—because who doesn’t want a smoother, safer, and smarter SharePoint experience?
Thanks for stopping by. ✌