Microsoft Ignite 2025 has landed, and Microsoft showed up with the subtlety of a marching band crashing through your office, every instrument replaced with an AI agent. If last year was “AI everywhere,” this year is “AI doing everything.” The message is loud and direct: we’ve officially stepped beyond chatting with AI and squarely into delegating real work to it.
Yes, your job just got a small digital coworker. Possibly several hundred.
Below is the breakdown of the biggest announcements and what they actually mean, stripped of the marketing sparkle and served with just enough humor to keep you from yelling into your seminar coffee.

Table of Contents
Microsoft Agent 365: The AI Workforce Goes Corporate
Microsoft kicked off with Agent 365, essentially a mission-control tower for every AI agent your company spawns, planned or otherwise. Consider it the antidote to “shadow AI,” the growing habit of employees quietly unleashing agents that poke around critical systems like overenthusiastic interns.
Agent 365 promises:
- Full visibility into every AI agent operating inside your company
- Permission controls granular enough to avoid AI “accidentally” reading payroll data
- Security integrations with Defender, Entra, and Purview so agents behave like model citizens
- Early agents, including an autonomous Sales Development Rep that works 24/7
(Sure, it’s tireless. No, it won’t ask for PTO.)
In short, Microsoft wants AI agents to be first-class digital employees with HR-approved badges, governance, and a strict bedtime (a.k.a. throttling).
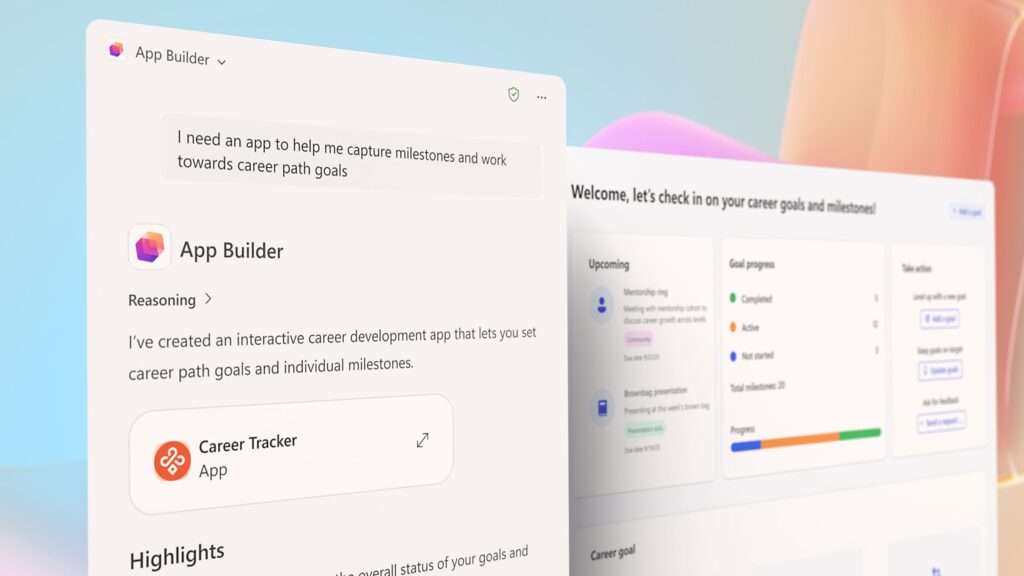
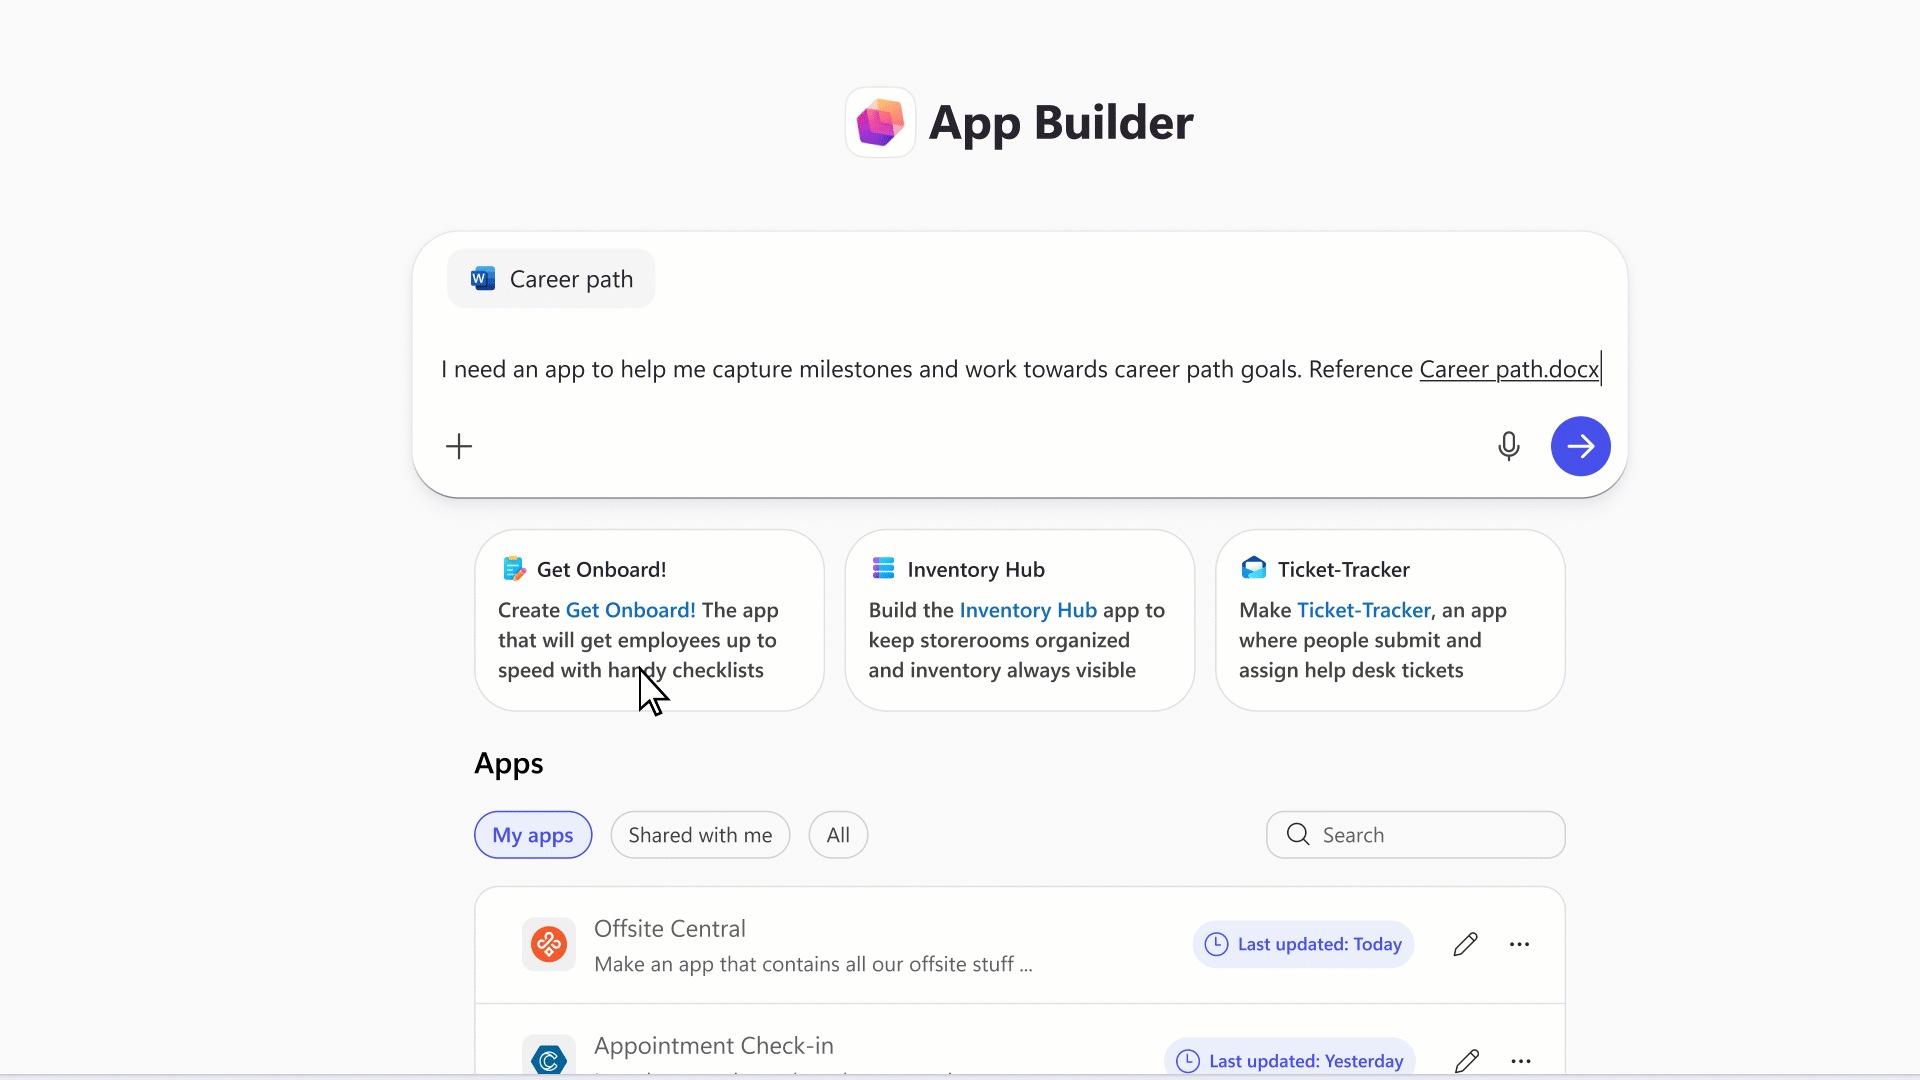
Copilot Grows Up: From Helpful Buddy to Specialist Colleague
Copilot is no longer just the friendly AI whispering suggestions in your apps. It’s splitting into specialized, highly trained “teammates” because apparently we’re staffing a full AI department now.
Office Specialists
Think of Excel, Word, and PowerPoint each hiring their own resident expert:
- Excel’s agent can build financial models and forecasts
- Word’s agent becomes a strategic writer that drafts policies and structured documents
- PowerPoint’s agent turns messy ideas into polished decks (finally someone will do it)
We also get Sora 2 integration. yes, you can now describe a video clip and generate it straight from Copilot. Expect every marketing team on Earth to go feral with this.
Workforce Intelligence Agents
Powered by Work IQ, Microsoft introduced agents that can:
- Map organizational insights
- Discover who knows what within the company
- Deliver snack-sized personalized learning
Basically, they’re giving you a corporate crystal ball.
Teams & SharePoint Agents
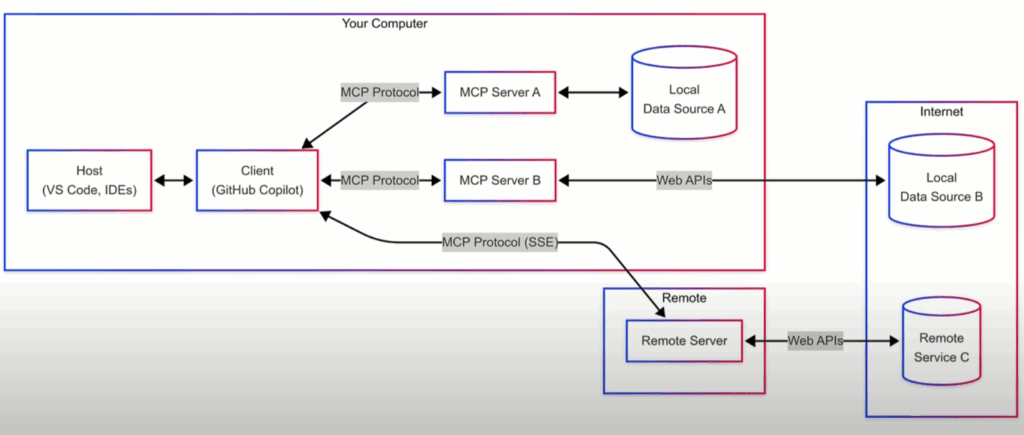
Agents will now collaborate with Jira, Asana, and other apps through MCP servers and help admins by automatically monitoring meetings, provisioning users, and cleaning up permissions sprawl across SharePoint.
They finally acknowledged that those sprawling “mystery sites” with 200 owners aren’t cleaning themselves.
Microsoft Foundry: An Enterprise Factory for AI Agents
This year’s heavyweight announcement is Microsoft Foundry, a complete platform for designing, deploying, and governing AI agents at enterprise scale. Think AWS for agents, but with guardrails and corporate compliance baked in.
Foundry offers:
- Managed agent infrastructure that handles scaling and monitoring
- Multi-agent orchestration, letting multiple agents collaborate like a tiny digital Avengers team
- Model Router, which smartly picks the best model (GPT-5, Llama, Grok, etc.) for each task and cuts costs while improving performance
- Massive integration catalog with 1,400+ enterprise systems via Logic Apps
- Foundry IQ, a modernized approach to retrieval-augmented generation (RAG) with strong Purview-enforced boundaries
- Robust governance, including Entra Agent ID, spending limits, red-teaming, and traceability
Microsoft’s pitch is clear: stop building toy AI bots. Use Foundry and build real, auditable digital workers that don’t set your SIEM on fire.
Azure Copilot: Six New Agents for the Ops Crowd
Cloud folks, Microsoft did not forget you. They gave Azure what is essentially a squad of GPT-5-powered consultants:
- Deployment architect
- Migration specialist
- Optimization advisor
- Observability analyst
- Resiliency consultant
- Troubleshooting agent
Each of these resides inside the Azure portal, PowerShell, or CLI. And yes, they always respect RBAC. (Because the last thing we need is an AI “fixing” your production environment at 2 a.m.)
Azure also got hardware love:
Azure Boost pushes insane I/O performance, and the new Cobalt 200 processors offer better efficiency and speed thanks to cutting-edge 3nm silicon.
SQL Server 2025: Now Officially AI-Native
SQL Server 2025 launches with:
- Vector search baked directly into the engine
- Local or cloud model access
- Real-time analytics through mirroring into OneLake
Microsoft also announced three new database flavors:
- Azure DocumentDB: open-source friendly, vector-enabled, scalable
- Azure HorizonDB: a turbocharged PostgreSQL variant
- Fabric Databases: unify SQL and Cosmos DB into a SaaS-like experience
It’s the biggest data platform shakeup Microsoft has done in years.
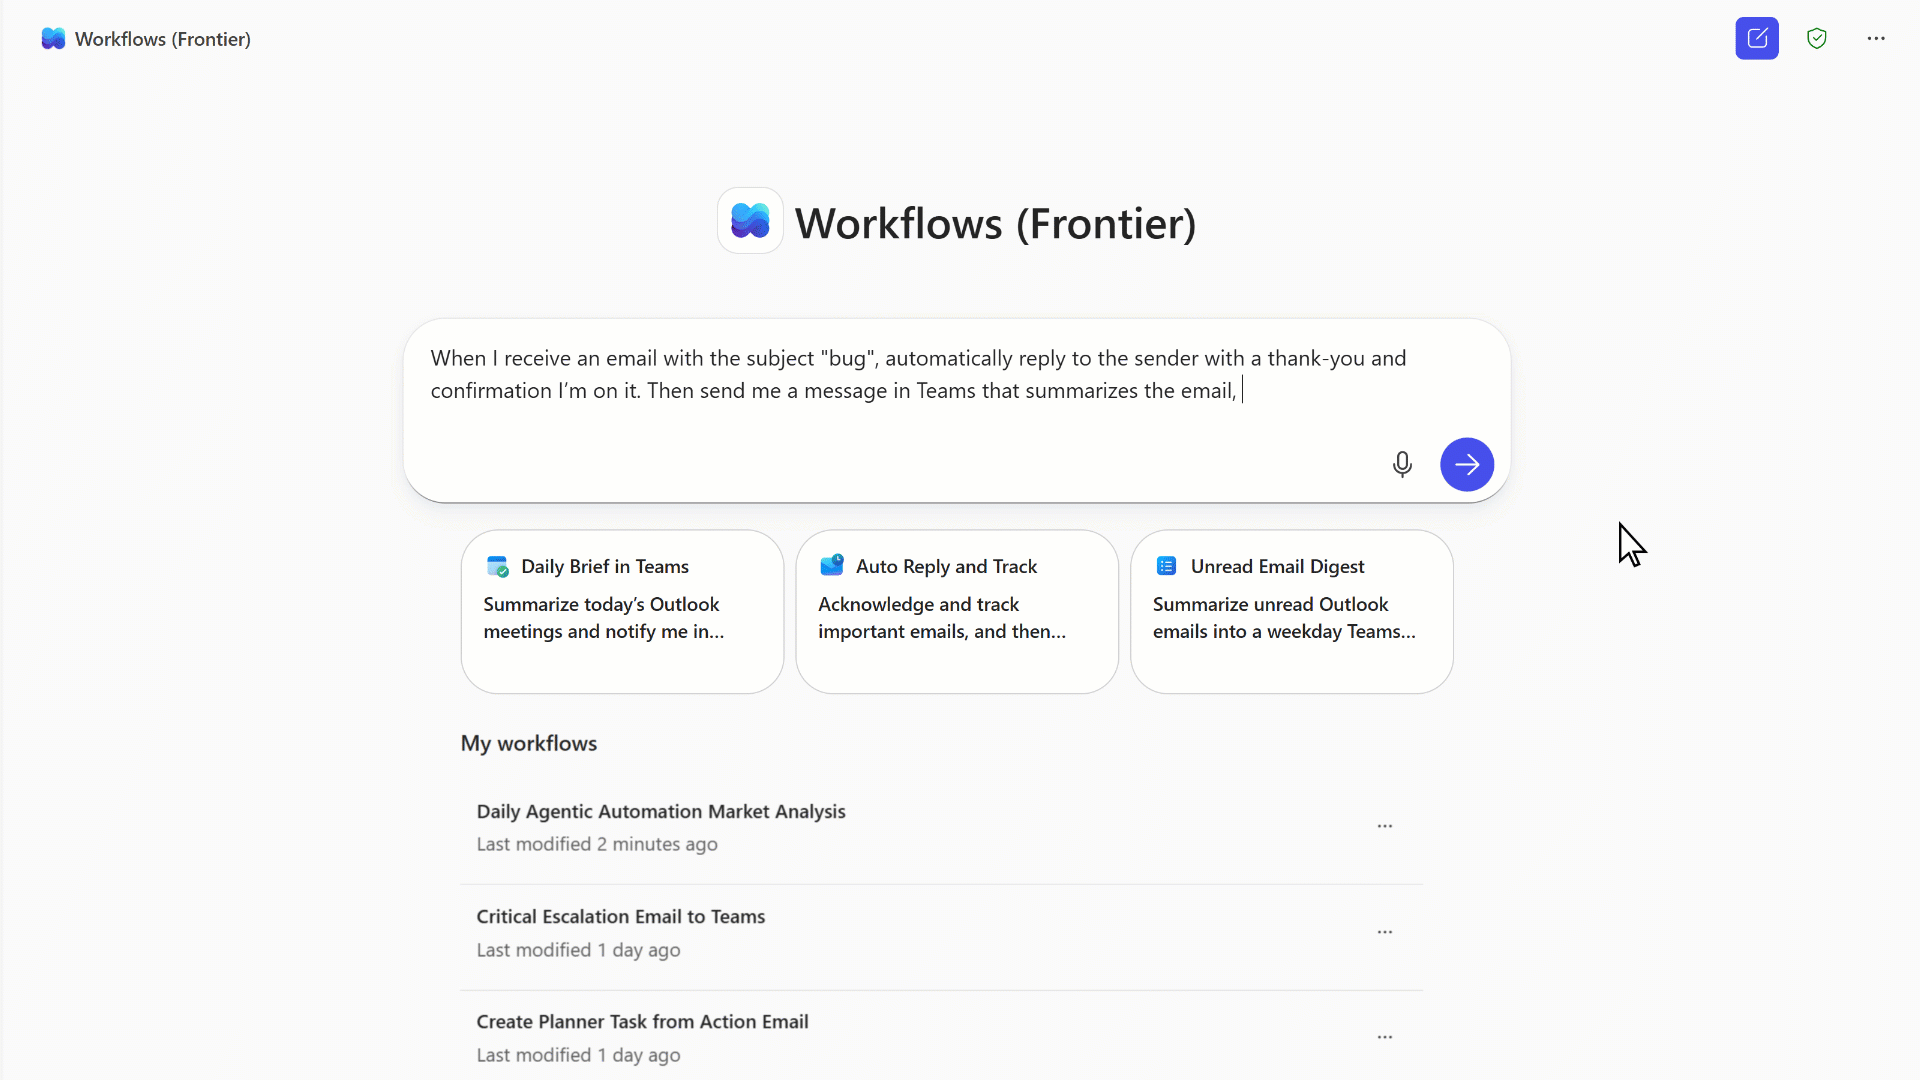
Power Platform & Dynamics 365: Agents Take the Wheel
Power Apps now includes a new maker workspace where describing an app in plain English generates a functioning multi-page application. The MCP Server for Power Apps makes those apps discoverable to agents, letting digital coworkers trigger approvals or submit forms.
Copilot Studio gets:
- Automated agent evaluations
- UI automation via Windows 365
- Real-time security monitoring and Entra Agent ID
Dynamics 365 is gaining two MCP servers that streamline ERP automation and provide semantic access to metrics. Translation: smarter finance and supply chain agents.
Windows 11: The OS for AI Agents
Windows 11 is being refitted as the operating system where agents live, work, and sometimes break things (but with auditing!).
Key upgrades:
- Built-in MCP support for native agent–OS interaction
- Agent Workspace for isolated execution
- Taskbar Copilot evolution
- Semantic Windows Search across both local and cloud data
- On-device AI APIs for video enhancement and image generation
- Windows 365 for Agents for secure cloud-side execution
- Enterprise recovery capabilities for admins dealing with, let’s be honest! agent chaos!!
Security: Microsoft’s “Don’t Panic, We Secured the Agents” Tour
With great AI comes great…potential attack vectors. Microsoft responded with a colossal security stack overhaul focused specifically on agent safety.
Highlights:
Defender for AI Agents
- Unified protection across pro-code and low-code agents
- Prompt-injection and malicious tool-use detection
- A threat-hunting agent that conducts full investigations via natural language (finally, an analyst who never complains)
Entra Agent ID
Every AI agent gets a corporate identity, lifecycle governance, and conditional access.
Your AI coworker now has MFA. Good luck.
Purview for Agents
- DLP for Copilot
- Overshared link cleanup
- Extended governance across Teams, SharePoint, and Exchange
- Insider risk detection for rogue agents
Security Copilot & Sentinel Agents
A dozen new security agents deploy across Microsoft 365, while Sentinel’s enhanced UEBA and data lake make it “agent-ready.”
Unified Intelligence Layer & Marketplace: Microsoft Wants a Universal Brain
Microsoft’s big architectural move is building a shared context layer across Microsoft 365, Fabric, and Foundry.
- Work IQ gains conversational memory
- Fabric IQ extends semantics beyond BI
- Foundry IQ becomes the connective tissue for enterprise knowledge
- Marketplace expands globally with a huge catalog of agents and apps
The dream: one unified fabric of intelligence across every Microsoft service.
Final Verdict: The Agentic Era Is Officially Here
Ignite 2025 wasn’t subtle, but it didn’t have to be. This is the beginning of AI agents becoming real digital workers, governed, credentialed, and audited like any employee.
The era of “play with AI in the corner” is over.
Welcome to enterprise-grade AI labor.
If you’re a cloud or AI professional, your action plan is simple:
- Join the Frontier Program.
- Learn Foundry inside-out.
- Deploy governance with Agent 365.
- Stress-test Azure Copilot agents.
- Use the Model Router to optimize cost and speed.
Because the companies that figure out agents first won’t just save money, they’ll outpace everyone still stuck writing their own reports at midnight.
Thank you for stopping by. ✌️
Source: Microsoft Ignite – Book Of News